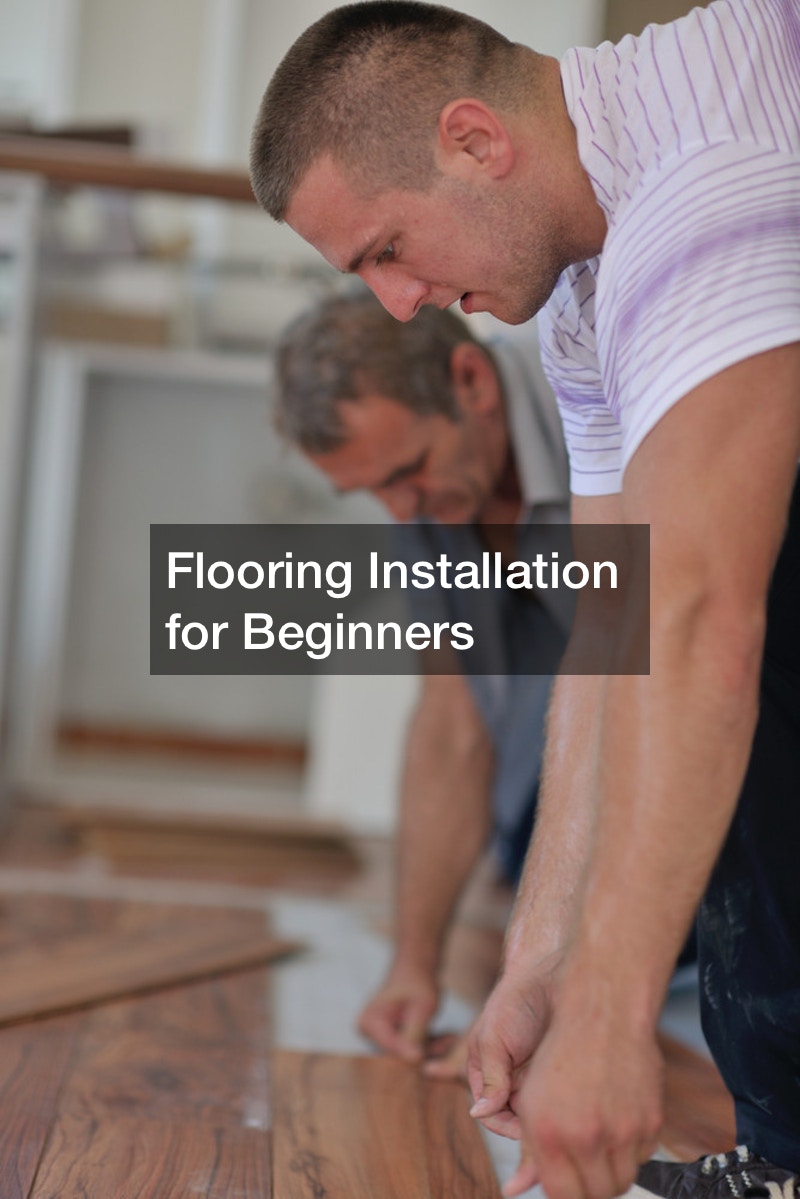

Do you want to give your floors a makeover, but don’t want to spend a fortune? Learn how to install hardwood floors yourself with this hardwood floor installation guide for beginners.
Hardwood floor installation doesn’t have to be difficult or time-consuming. The key is to get everything laid out to save time, grief, and heartache. You don’t want to rush through this process because trust me, you will waste more time in the end if things don’t align.
You want to make sure you start with the longest wall in your home to give yourself a good benchmark and starting point. Your first and last planks should be similar in width to split the difference and make it look more professional. Once your chalk line is snapped start rolling out your underlayment. To secure the underlayment you will need staples. Using staples and not glue gives you the ability to go back and fix mistakes, we call this floating installation. Shimming and bracing the first time around will help you avoid a messy hardwood floor installation. This process will help you stay solid and secure. You want to lay the floorboards down from left to right, and from top to bottom, ensuring you are staying parallel to your chalk line until you’ve finished your flooring. The more planks you have laid down, the more secure the floor becomes.
This process may sound tricky, but once you layout and align everything in the beginning, the installation itself goes by quickly. If you make a mistake, don’t worry, you are able to go back and lift up the planks to correct any mishaps or realignments. Hardwood floor installation doesn’t have to be hard or time-consuming and our guide makes it a process even you can do.
.


