- Repainting is cost-effective and transformative: Updating cabinets is far cheaper than replacing them, while giving your kitchen a fresh, modern look.
- Preparation is critical for success: Proper cleaning, sanding, and removing doors/hardware ensure paint adheres well and prevents chipping.
- Choose the right paints and primers: Cabinet-specific paints, semi-gloss finishes, and compatible primers improve durability and create a professional finish.
- Use the proper tools and techniques: Brushes, rollers, and optional sprayers, combined with thin, even coats, help achieve smooth results without streaks.
- Allow sufficient drying and curing time: Rushing coats or reassembly can cause damage; most cabinet paints require several days to fully cure.
- Avoid common mistakes: Skipping prep, using wall paint, applying thick coats, or reinstalling hardware too soon are the main reasons repaint jobs fail.
Repainting kitchen cabinets is one of the most effective ways to refresh your kitchen without the cost and disruption of a full remodel. With the right paints, tools, and techniques, even first-time DIYers can achieve a durable, professional-looking finish. This guide walks you through everything you need to know, from prep work to paint selection and expert tips that help your cabinets look great for years.
Why Repaint Instead of Replace Kitchen Cabinets?
Replacing cabinets is expensive, time-consuming, and often unnecessary. Repainting lets you:
- Save thousands of dollars compared to replacement
- Update the style and color of your kitchen quickly
- Reduce waste by reusing existing materials
- Customize your finish to match modern trends or personal taste
Many homeowners searching for how to refinish kitchen cabinets ultimately choose repainting because it delivers a dramatic visual upgrade without the cost or disruption of full cabinet replacement.
What Types of Kitchen Cabinets Can Be Repainted?
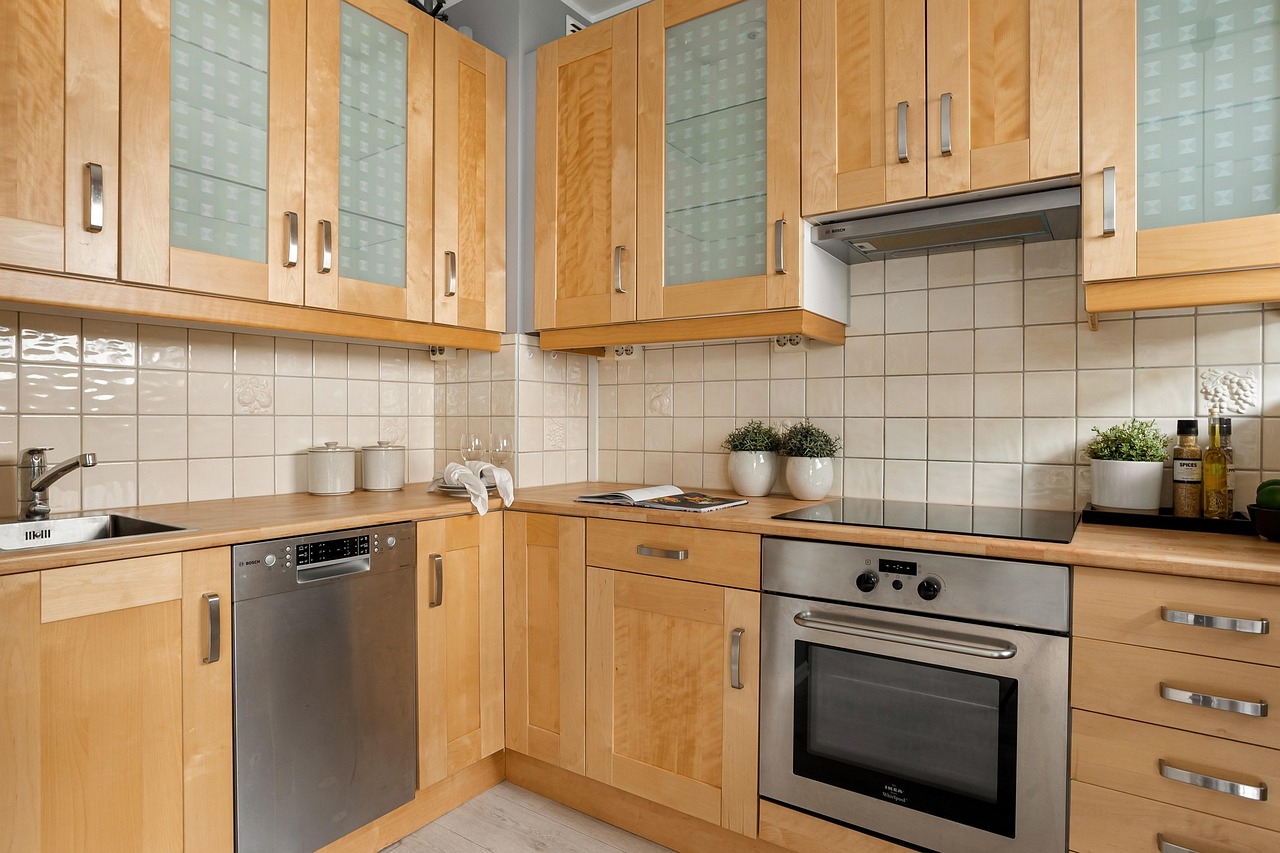
Most cabinets can be repainted, but preparation and paint choice matter.
- Solid wood cabinets repaint beautifully and are the easiest to work with.
- MDF cabinets can be painted but require careful priming to prevent swelling.
- Laminate cabinets can be repainted with proper sanding and bonding primer.
- Metal cabinets are paintable with specialty primers and paints.
Thermofoil cabinets are the most challenging and may not hold paint well long-term.
How Long Does It Take to Repaint Kitchen Cabinets?
The process usually takes several days, not counting curing time.
- Day 1: Removal, cleaning, and prep
- Day 2: Sanding and priming
- Day 3–4: Painting coats
- Day 5+: Drying and reassembly
Rushing leads to chipping, brush marks, and uneven coverage, so patience pays off.
What Tools Do You Need Before You Start?
Having the right tools makes the job smoother and improves results.
- Screwdriver or drill for removing hardware
- Painter’s tape and plastic sheeting
- Degreasing cleaner or TSP alternative
- Sandpaper (120–220 grit) or sanding sponge
- Tack cloth or microfiber rags
- High-quality brushes and rollers
- Paint trays and liners
- Optional paint sprayer for ultra-smooth finishes
Should You Remove Cabinet Doors and Hardware?
Yes, removing doors and hardware is strongly recommended. Painting cabinets in place often leads to drips, uneven edges, and visible brush strokes. Benefits of removing doors:
- Easier access to all surfaces
- Cleaner, more even coats
- Less mess and overspray
Label each door and hinge to make reinstallation stress-free.
How Do You Properly Clean Kitchen Cabinets?
Cleaning is non-negotiable. Kitchen cabinets collect grease, food residue, and dust that prevent paint from sticking. Steps to clean effectively:
- Use a degreasing cleaner or diluted dish soap
- Scrub all surfaces, especially near handles and stove areas
- Rinse with clean water
- Allow cabinets to dry completely
Is Sanding Really Necessary?
In most cases, yes. Sanding creates a surface the paint can grip.
- Light sanding is usually enough for previously painted or sealed cabinets.
- Glossy or varnished cabinets need more thorough sanding.
- Laminate cabinets require scuff sanding rather than heavy abrasion.
If sanding isn’t possible, a liquid deglosser can help, but sanding is still more reliable.
What Is the Best Primer for Kitchen Cabinets?
Primer is critical for durability, stain blocking, and adhesion. Best primer types include:
- Oil-based primers for stain-heavy or glossy surfaces
- Shellac-based primers for strong odor and stain blocking
- Bonding primers for laminate or slick surfaces
To avoid peeling, choose a primer compatible with your paint type.
How to Choose the Best Paint for Kitchen Cabinets
Not all paints are created equal, especially for high-use areas like kitchens.
Oil-based vs. water-based paints
- Oil-based paints offer a hard, smooth finish but have strong fumes and longer drying times.
- Water-based or acrylic paints are low odor, dry faster, and are easier to clean up.
Cabinet-specific paints
Look for paints labeled specifically for cabinets, trim, or furniture. These formulas:
- Dry harder than wall paint
- Resist chipping and moisture
- Level better for smoother finishes
Satin, semi-gloss, or gloss?
- Satin hides imperfections well
- Semi-gloss is durable and easy to clean
- Gloss offers a sleek look but highlights flaws
Semi-gloss is the most popular choice for kitchen cabinets.
What Paint Colors Work Best for Kitchen Cabinets?
Popular cabinet colors include:
- White and off-white for bright, timeless kitchens
- Gray for modern or transitional styles
- Navy or deep green for bold, upscale looks
- Warm wood tones painted in beige or greige
Remember, always test samples in your kitchen lighting before committing.
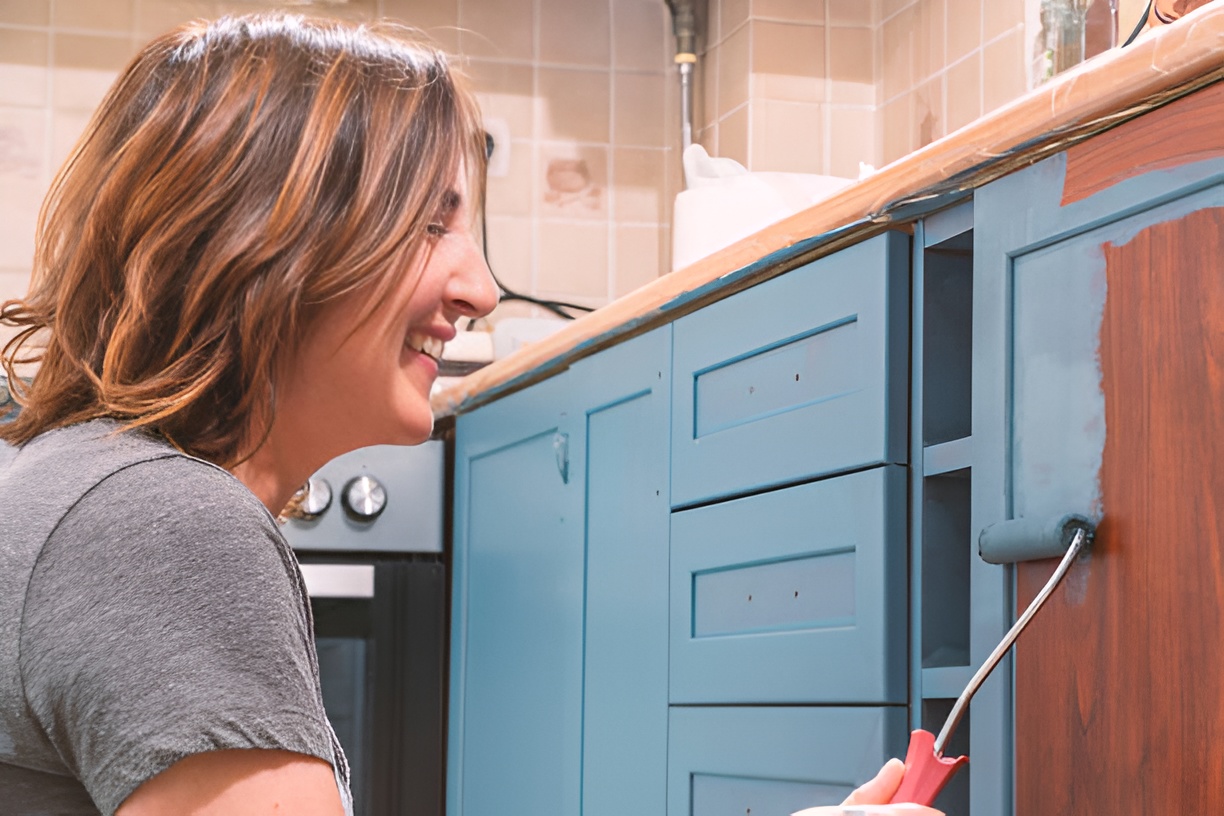
How to Repaint Kitchen Cabinets Using a Brush and Roller
Using a brush and roller is the most common DIY approach, and it can give your cabinets a smooth, professional-looking finish if done carefully. Here’s how:
- Start with a high-quality angled brush to paint edges, corners, and any detailed areas.
- Use a foam or microfiber roller on flat surfaces for an even coat without brush marks.
- Apply thin, even coats rather than one thick layer—this helps prevent drips and streaks.
- Lightly sand between coats to keep the finish smooth and flawless.
- Avoid overloading your brush or roller with paint, as this can cause runs or uneven texture.
Should You Remove Cabinet Doors and Hardware?
Yes! Taking doors and hardware off makes the painting process a lot easier and helps you avoid drips and uneven edges.
Benefits of removing doors:
- Easier access to all surfaces
- Cleaner, more even coats
- Less mess and overspray
Pro tip: Label each door and its corresponding hinges so reassembly is quick and stress-free.
How Many Coats of Paint Are Needed?
Most cabinets do best with:
- One coat of primer
- Two coats of paint
If you’re switching to a very dark color or making a dramatic change, you might need an extra coat to get full, even coverage.
How Long Should Paint Dry Between Coats?
Drying times vary depending on the type of paint you use, but as a general guide:
- Primer: 4–24 hours
- Paint: 6–12 hours between coats
Always follow the manufacturer’s instructions. Rushing can leave surfaces tacky or full of fingerprints, so be patient—it pays off.
How Do You Avoid Brush Marks and Streaks?
Getting a smooth finish is mostly about technique. Here are some tips:
- Use high-quality brushes and rollers
- Work in long, even strokes
- Maintain a wet edge as you paint
- Avoid painting in extreme heat or humidity
- Lightly sand between coats for a flawless finish
Remember: thin, controlled coats always look better than thick, heavy ones.
Can You Repaint Kitchen Cabinets Without Sanding?
It’s possible, but it’s not ideal. You can use a deglosser and bonding primer for lightly used cabinets, but skipping sanding usually reduces long-term durability—especially in kitchens that get a lot of traffic.
How to Repaint Kitchen Cabinets Without Removing Them
If taking doors off isn’t an option, you can still paint them in place:
- Tape off walls, counters, and appliances carefully
- Use drop cloths generously to protect surfaces
- Paint doors while attached using slow, controlled strokes
Keep in mind that results may be slightly less polished than if the doors were removed, but it’s a workable solution for small updates.
How Long Does It Take for Cabinet Paint to Fully Cure?
Keep in mind that dry to the touch doesn’t mean the paint is fully cured. Most cabinet paints take 7–30 days to reach full hardness.
During this curing period:
- Avoid slamming doors to prevent dents or chips
- Be gentle when cleaning painted surfaces
- Hold off on reinstalling heavy hardware until the paint is fully set
Patience during this stage helps your cabinets stay smooth and durable for years.
How Do You Protect Freshly Painted Cabinets?
Once cured, protect your work by:
- Installing soft-close hinges
- Using gentle, non-abrasive cleaners
- Wiping spills quickly
- Avoiding harsh scrubbing pads
Common Mistakes to Avoid When Repainting Kitchen Cabinets
Avoid these frequent pitfalls:
- Skipping cleaning or sanding
- Using wall paint instead of cabinet paint
- Applying thick coats
- Reinstalling hardware too soon
- Ignoring drying and curing times
Is Repainting Kitchen Cabinets Worth It?
For most homeowners, yes. Repainting offers:
- High return on investment
- Significant visual impact
- Customization without construction
- A manageable DIY project with the right approach
Wrapping Up
Learning how to repaint kitchen cabinets properly comes down to preparation, patience, and using the right materials. When you choose quality paints, invest in proper tools, and follow proven techniques, your cabinets can look brand new without the cost of replacement. Take your time, follow each step carefully, and you’ll end up with a kitchen upgrade that looks professional and lasts for years.