
- Refinishing saves money and time: Updating cabinets is far more cost-effective than replacing them, making it ideal for budget-conscious kitchen remodels.
- Preparation is key: Removing hardware, cleaning thoroughly, and protecting your workspace ensures a smooth, professional finish.
- Sanding vs. stripping: Light sanding is usually sufficient for most cabinets, while chemical stripping is only needed for multiple old finishes.
- Repair before refinishing: Fix scratches, dents, and loose joints with wood filler and sanding to ensure a flawless final look.
- Choose the right finish: Decide between paint or stain, select an appropriate sheen, and test colors before committing to the entire kitchen.
- Step-by-step refinishing process: Primer (if painting), thin coats of paint or stain, sealing with polyurethane, and careful reattachment of doors and hardware ensures durability and beauty.
- Maintain your cabinets: Regular cleaning, immediate spill cleanup, checking hardware, and avoiding moisture or heat prolong the life of your refinished cabinets.
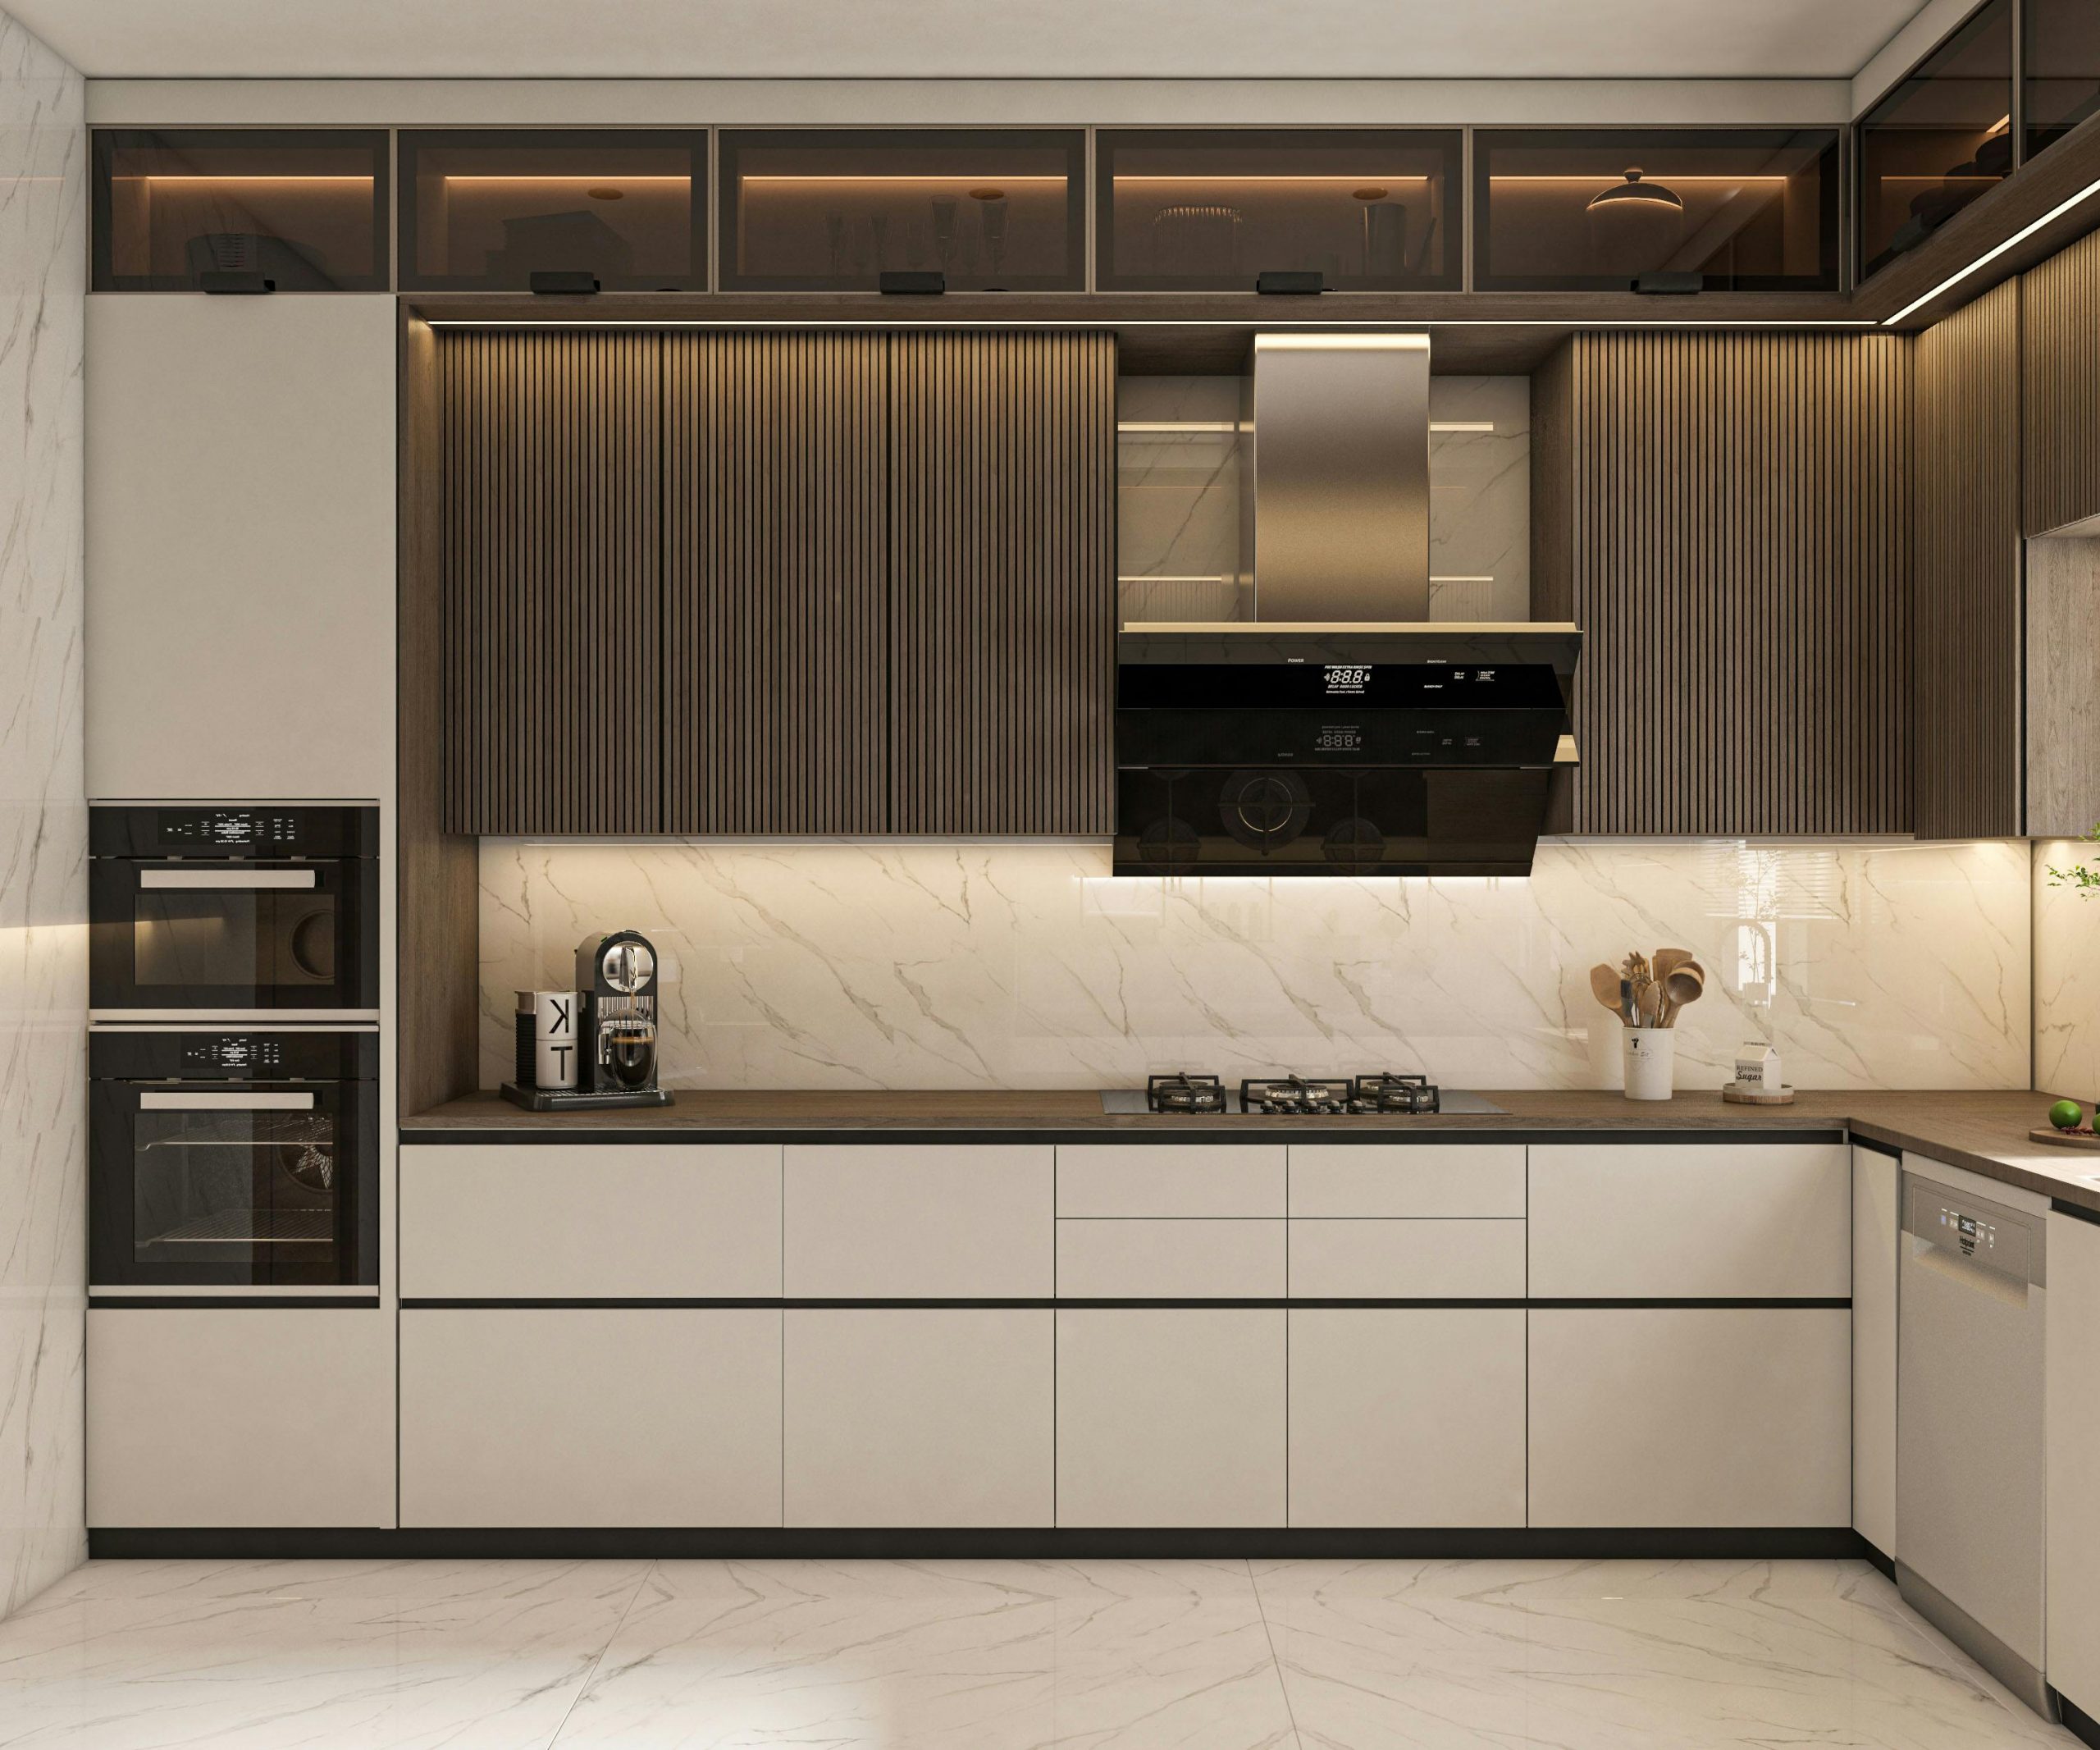
Updating your kitchen can feel overwhelming, but refinishing your cabinets is one of the most impactful DIY projects you can take on. Not only does it give your kitchen a fresh, modern look, but it can also save you thousands compared to a full remodel. If you’re a beginner, don’t worry—this guide will walk you through everything you need to know about how to refinish kitchen cabinets from start to finish.
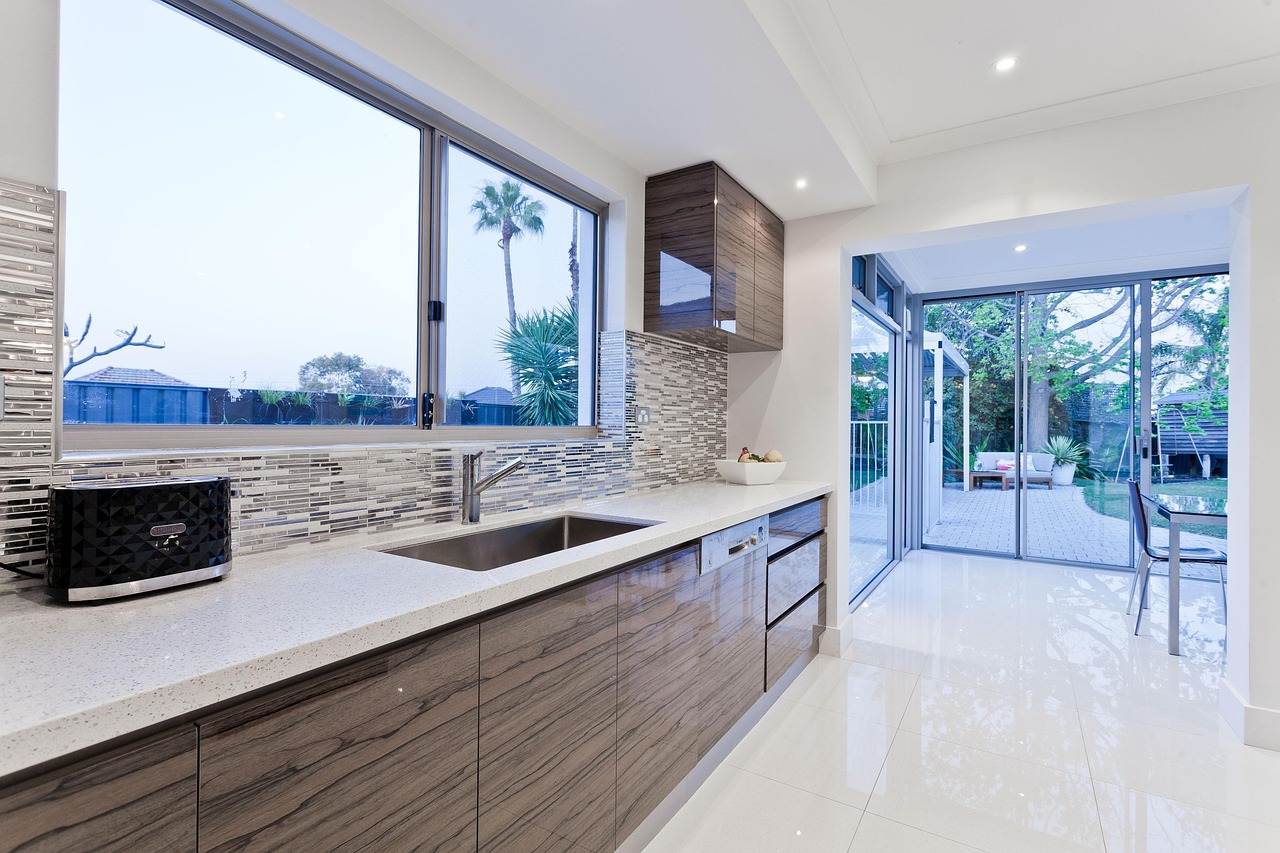
Why Refinish Kitchen Cabinets Instead of Replacing Them?
Replacing cabinets entirely can cost tens of thousands of dollars, while refinishing allows you to refresh your kitchen without breaking the bank. This is especially beneficial for small kitchen remodeling, where budget and space efficiency are top priorities. Here are some key reasons to consider refinishing:
- Cost-effective: Repainting or staining is significantly cheaper than new cabinets.
- Environmentally friendly: Reduces waste by keeping your existing cabinets.
- Customizable: You can update the color, finish, or style to match your design vision.
- Quick transformation: Most refinishing projects can be completed in a weekend or over several days, depending on your kitchen size.
Refinishing is a smart choice if your cabinets are structurally sound but look outdated or worn.
What You Need Before You Start
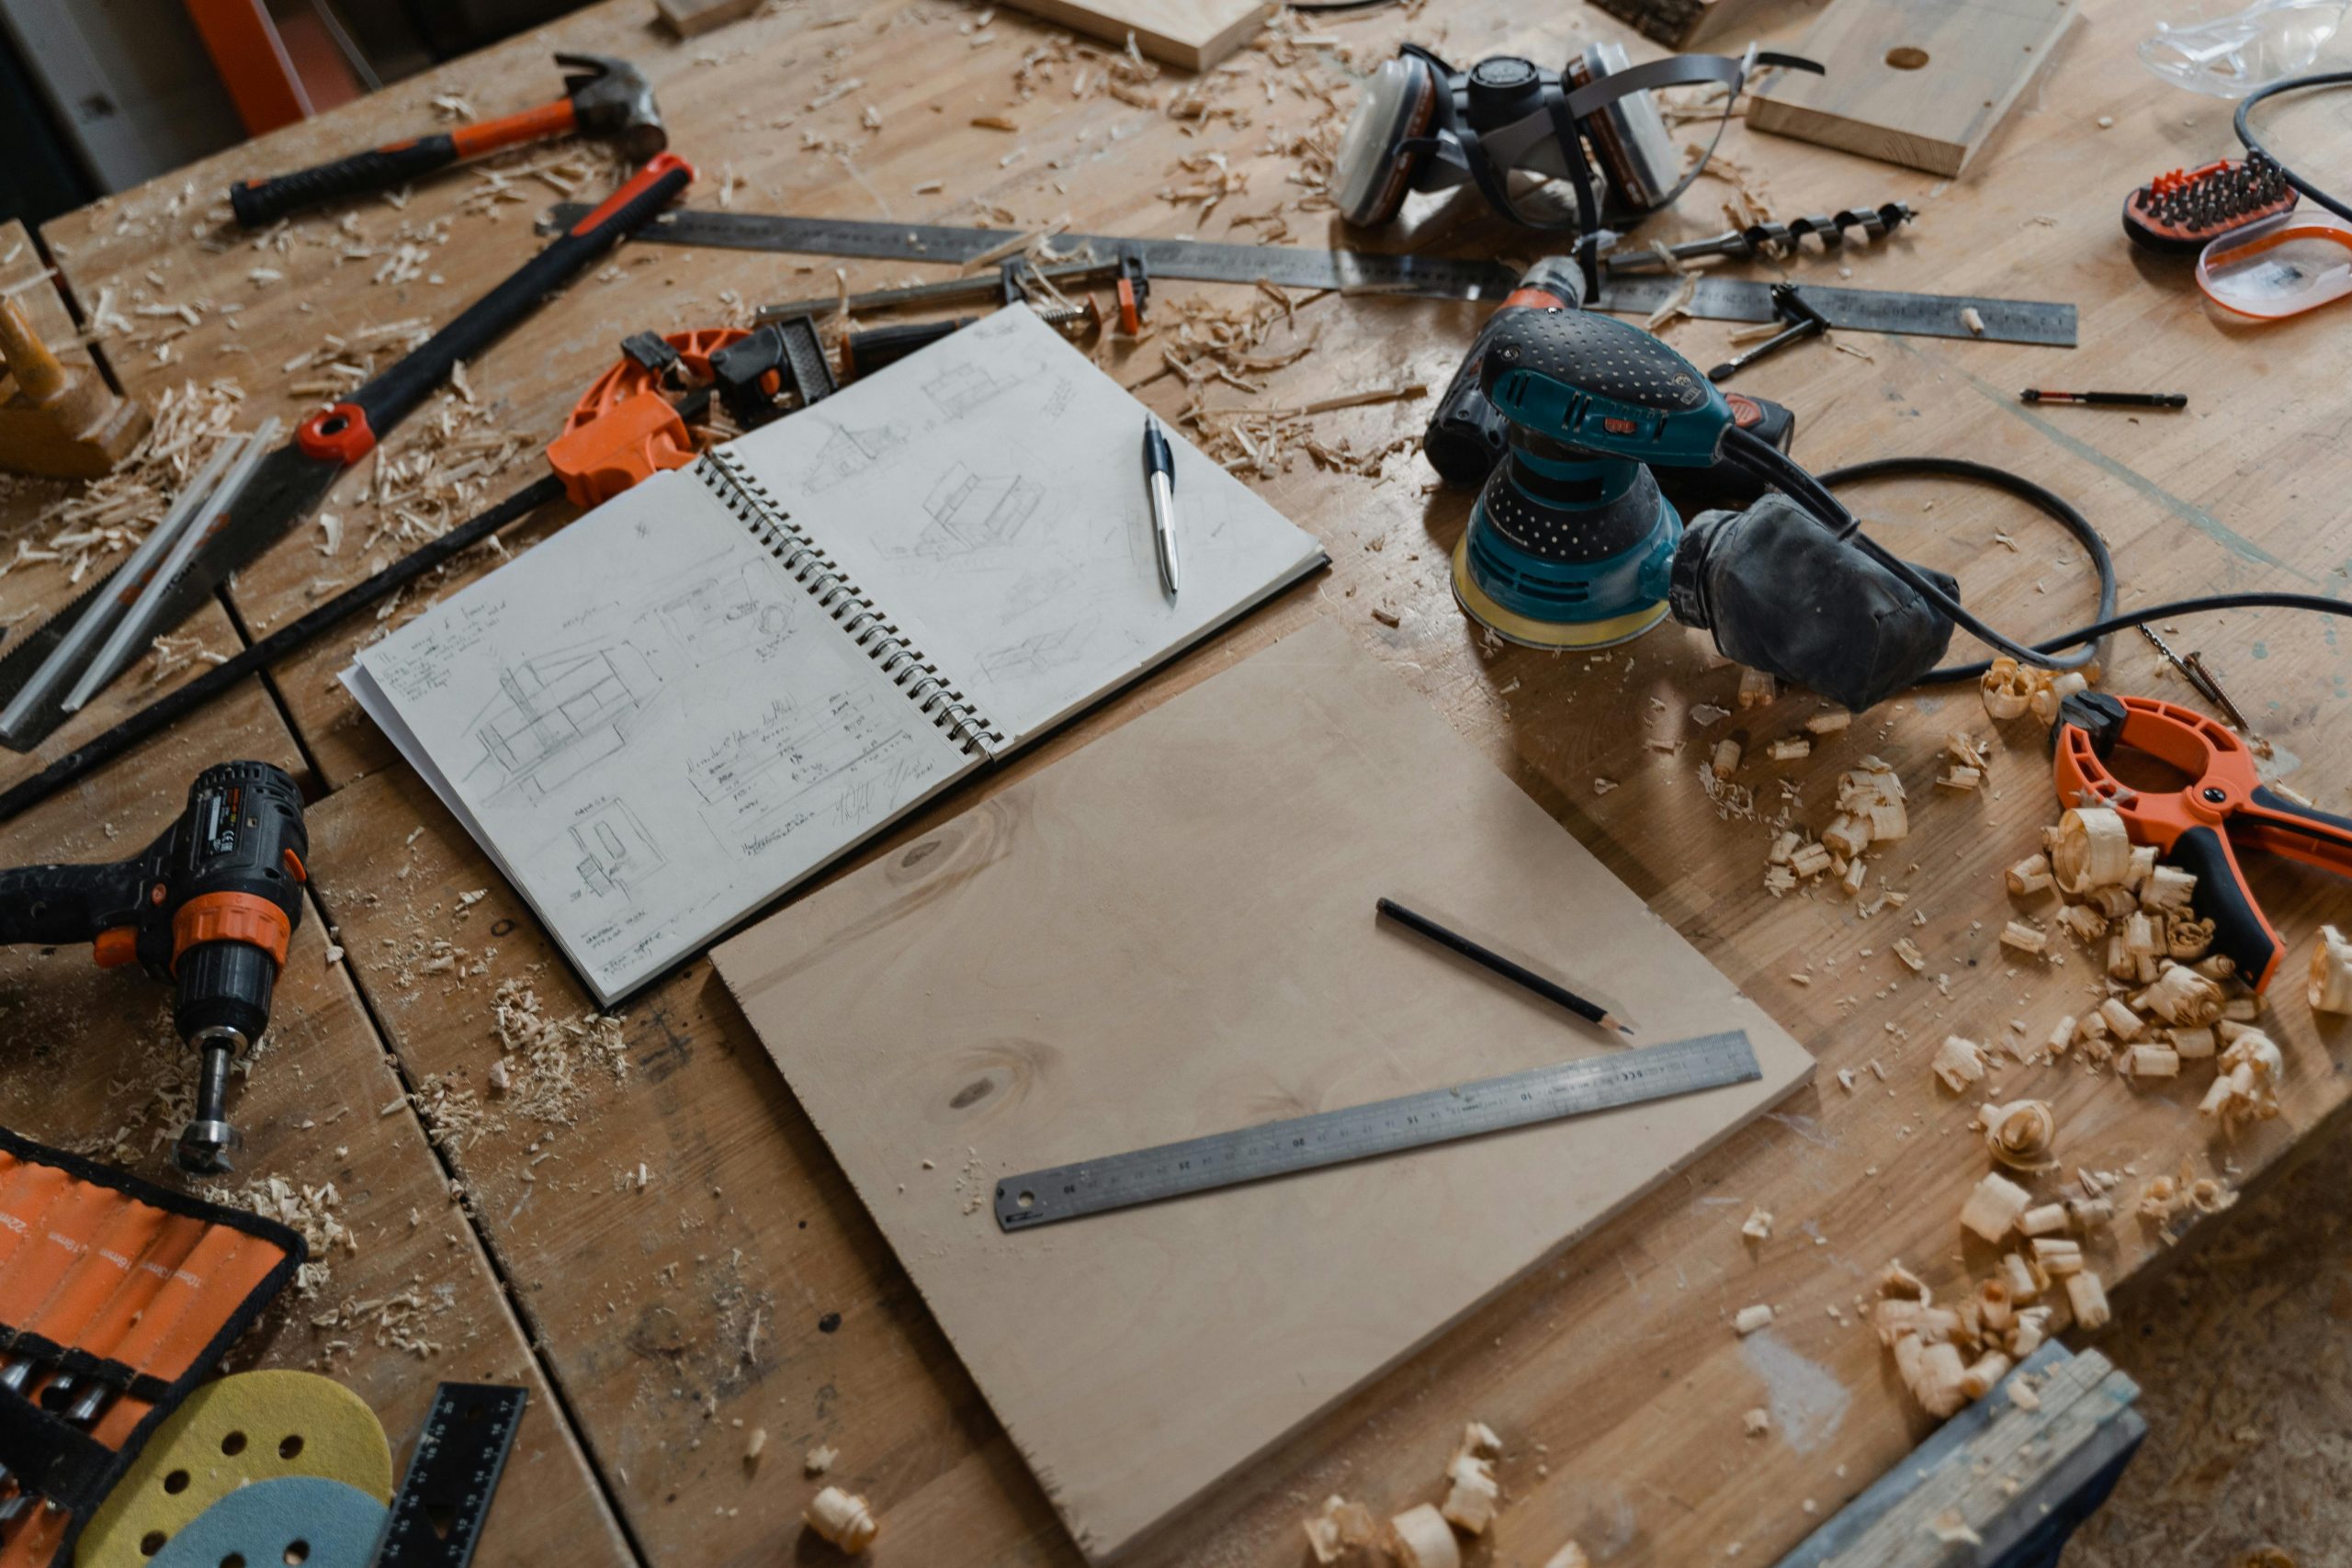
Preparation is key to achieving a professional-looking finish. Here’s a list of essential supplies:
- Screwdriver or drill for removing cabinet doors and hardware
- Sandpaper (medium and fine grit) or an electric sander
- Wood filler for repairing scratches and dents
- Paint or wood stain of your choice
- Primer (if painting)
- Brushes, foam rollers, or paint sprayer
- Drop cloths to protect floors and countertops
- Painter’s tape
- Safety gear: gloves, mask, and goggles
Having everything ready before you begin will make the process smoother and help you avoid frustrating trips to the hardware store mid-project.
How to Prepare Your Kitchen for Refinishing
Before you even pick up a brush, preparing your kitchen is crucial for a smooth, professional-looking refinishing project. Skipping these prep steps can lead to uneven finishes or accidental damage. Here’s a detailed approach:
- Remove cabinet doors and hardware: Start by carefully taking off all doors, drawers, handles, and hinges. Use a screwdriver or drill and keep all screws in labeled bags. Label each door and drawer with painter’s tape so you know exactly where it goes during reassembly. This saves hours of guesswork later and prevents mismatched pieces.
- Clean thoroughly: Kitchen cabinets are often covered in grease, grime, and food residue, which paint or stain won’t adhere to properly. Use a degreaser or a mixture of warm water and mild soap to scrub all surfaces. Don’t forget edges, corners, and the inside of drawers. Rinse with clean water and let everything dry completely.
- Protect your space: Refinishing can get messy, so lay down heavy-duty drop cloths to shield your floors. Use painter’s tape to cover countertops, backsplashes, appliances, and wall edges. Proper protection ensures you don’t spend hours cleaning up paint splatters or scratches afterward.
- Organize your tools and supplies: Have your brushes, sandpaper, primer, paint or stain, and safety gear within reach. Being organized reduces stress and keeps your workflow efficient.
Should You Sand or Strip Your Cabinets?
One of the most common questions for beginners is whether sanding or stripping is necessary. The answer depends on your cabinets’ current finish and the look you want to achieve.
- Sanding: Recommended if your cabinets have a smooth finish or only one previous layer of paint or stain. Sanding creates a slightly rough surface that allows paint or stain to stick better. Start with medium-grit sandpaper to remove the old finish or gloss, then follow up with fine-grit for a smooth surface. Don’t forget to sand edges, corners, and inside panels.
- Stripping: Needed if cabinets have multiple layers of old paint, varnish, or stubborn finishes. Chemical strippers remove old coatings completely, exposing bare wood for staining or repainting. Stripping requires proper ventilation, gloves, and patience, as it can take longer than sanding.
For most beginners with fairly well-kept cabinets, light sanding is sufficient and less labor-intensive than full stripping.
How to Repair Damage Before Refinishing
Even well-maintained cabinets often have scratches, dents, or chipped edges. Repairing these imperfections before you paint or stain ensures a smooth, professional finish.
- Use wood filler: Fill dents, holes, or scratches with wood filler. Apply with a putty knife, smoothing it flush with the surrounding surface. Let it dry completely according to the manufacturer’s instructions.
- Sand smooth: Once dry, sand the filled areas with fine-grit sandpaper to make them level with the cabinet surface. This prevents bumps or uneven spots in your final finish.
- Check for loose joints: Inspect frames, doors, and drawer boxes for wobbly connections. Tighten screws or use wood glue where necessary to reinforce stability.
Taking time to fix damage now will save frustration later and make your cabinets look polished and professionally refinished.
How to Choose the Right Paint or Stain
The type of finish you choose will dramatically affect the overall look and feel of your kitchen. Consider these key factors:
- Paint vs. Stain:
- Paint gives a bold, modern, and uniform appearance, perfect for brightening up a space or achieving a contemporary style.
- Stain highlights the natural grain of the wood, adding warmth and a classic, timeless feel.
- Finish options:
- Satin or semi-gloss finishes are ideal for painted cabinets because they are easy to clean and resistant to fingerprints.
- Matte or low-sheen finishes create a subtle, modern aesthetic while minimizing glare.
- Color selection:
- Light colors can make a small kitchen feel brighter and more spacious.
- Dark colors add drama and sophistication but may show dust or smudges more easily.
- Test before committing: Always apply a small patch of paint or stain in an inconspicuous area. This ensures you’re happy with the color and finish before tackling the entire kitchen.
How to Refinish Kitchen Cabinets Step by Step
Step 1: Prime the Cabinets (If Painting)
Priming is essential for a smooth, long-lasting finish.
- Apply a thin, even coat of primer using a brush, roller, or sprayer.
- Allow the primer to dry fully according to the manufacturer’s instructions.
- Lightly sand the primed surface with fine-grit sandpaper to remove brush strokes or raised grain.
Proper priming ensures the paint adheres well, prevents peeling, and makes colors appear more vibrant.
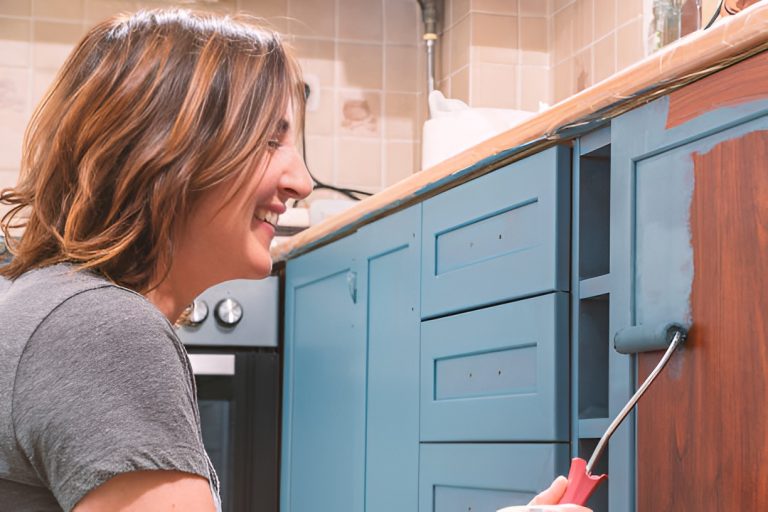
Step 2: Apply Paint or Stain
This is where your kitchen starts to come to life.
- Use a high-quality brush or foam roller for smooth surfaces. For larger kitchens, a paint sprayer can save time and create an even finish.
- Apply thin coats rather than one thick layer to avoid drips, streaks, and uneven coverage.
- Allow each coat to dry completely before applying the next. Typically, two to three coats provide full coverage and depth of color.
Tip: For stained cabinets, always wipe off excess stain with a clean cloth to prevent blotches.
Step 3: Seal Your Finish
Sealing protects your cabinets and gives them a professional look.
- Painted cabinets: Apply a clear polyurethane topcoat for durability and easy cleaning.
- Stained cabinets: Use a polyurethane or varnish to protect the wood from moisture, scratches, and daily wear.
- Apply one to two coats, allowing each to dry fully before adding the next.
Sealing ensures your hard work lasts and keeps cabinets looking fresh for years.
Step 4: Reattach Doors and Hardware
The final step brings everything together.
- Carefully reattach all doors, drawers, and hardware using your labeled screws and doors.
- Adjust hinges, handles, and drawer slides to make sure doors open and close smoothly without rubbing or misalignment.
- Double-check alignment—misaligned doors can make even the most beautiful finish look unprofessional.
Taking your time with reassembly ensures your cabinets function properly and look flawless.
How Long Does Refinishing Cabinets Take?
The timeline depends on your kitchen size, materials, and experience level:
- Small kitchen: 2–3 days
- Medium kitchen: 3–5 days
- Large kitchen: 5–7 days
Allow extra time for drying between coats. Rushing can lead to smudges or uneven finishes.
Common Mistakes Beginners Make
Avoid these pitfalls to achieve a professional-looking result:
- Skipping cleaning or sanding before painting
- Applying paint too thickly, causing drips or bubbles
- Not labeling doors and drawers before removal
- Ignoring ventilation while using paint or chemical strippers
- Using low-quality brushes or rollers
Being aware of these mistakes will help you achieve a smooth, long-lasting finish.
Tips for Maintaining Your Refinished Cabinets
Once your cabinets are refinished, proper maintenance is key to keeping them looking fresh and protecting your investment. Here are some detailed tips to help your cabinets stay in top shape for years:
- Wipe up spills immediately: Liquids, especially oil, sauces, or water, can seep into painted or stained surfaces and cause stains, warping, or damage over time. Keep a microfiber cloth handy and clean up any spills as soon as they happen.
- Use gentle cleaning solutions: Avoid harsh chemicals, bleach, or abrasive scrubbers that can strip paint or damage the finish. Instead, use mild dish soap mixed with warm water or a gentle, non-abrasive cabinet cleaner. A soft cloth or sponge works best to prevent scratches.
- Regularly check hinges, handles, and hardware: Over time, screws can loosen, and hinges may shift. Periodically inspect and tighten hardware to keep doors aligned and prevent sagging or misalignment. This also ensures smooth operation and prevents unnecessary wear on the finish.
- Protect drawer interiors: Using cabinet or drawer liners can reduce friction, scratches, and staining inside drawers. Liners also make cleaning up crumbs and spills much easier, extending the life of your refinished surfaces.
- Avoid prolonged exposure to moisture and heat: Water or steam from cooking can damage finishes over time. Be mindful around sinks, dishwashers, and stovetops. Use exhaust fans, wipe damp surfaces, and avoid placing hot pans directly on cabinet surfaces.
- Dust and clean regularly: Dust and grease can accumulate on cabinet surfaces, dulling the finish. Lightly dust or wipe cabinets weekly to maintain their shine and overall appearance.
With consistent care and attention, your refinished cabinets can stay beautiful, functional, and virtually brand new for years—keeping your kitchen looking refreshed and inviting.
Can You Refinish Cabinets Yourself or Should You Hire a Pro?
Refinishing is very doable for beginners with patience and preparation. However, you might consider hiring a professional if:
- Your cabinets are severely damaged
- You want a high-gloss or specialty finish
- You’re short on time or tools
DIY refinishing can save money, but professionals may offer a faster, flawless result.
Final Thoughts
Learning how to refinish kitchen cabinets is a rewarding DIY project that can dramatically transform your kitchen’s appearance. With the right preparation, tools, and patience, even a beginner can achieve professional-looking results. Start small, follow the steps carefully, and enjoy the process—you’ll be proud of the results for years to come.