
- Accurate measuring is the foundation of a successful installation. Measuring width, height, and depth correctly—especially for inside mounts—prevents fit issues and ensures the shutters operate smoothly.
- Inside mount vs. outside mount affects everything from measurements to final appearance. Choosing the right mount based on window depth, squareness, and light control needs is critical before you order or install shutters.
- Most homeowners can install plantation shutters themselves with the right tools and preparation. Standard windows, proper planning, and patience make DIY installation realistic and cost-effective.
- Frame alignment and leveling matter more than speed. Dry fitting, using a level, and adding shims where needed help prevent binding panels and uneven gaps.
- Over-tightening screws is one of the most common installation mistakes. Tightening gradually and evenly protects the frame from warping and keeps panels opening and closing properly.
- Final adjustments are normal and expected. Minor hinge tweaks, spacing corrections, and louver adjustments are part of achieving a professional-looking result.
- A careful, step-by-step approach leads to custom-looking shutters that last. When installed correctly, plantation shutters enhance light control, privacy, durability, and long-term home value.
Plantation shutters are one of those home upgrades that instantly elevate a space. They look polished, offer excellent light control, improve privacy, and can even boost resale value. The good news is that learning how to install plantation shutters is completely doable for many homeowners—especially if you take a methodical, step-by-step approach.
This guide walks you through the entire process, from measuring your windows correctly to mounting and adjusting the shutters so they open and close smoothly. Whether you’re a confident DIYer or someone tackling this for the first time, this article is designed to help you install plantation shutters the right way.
What Are Plantation Shutters and Why Install Them?
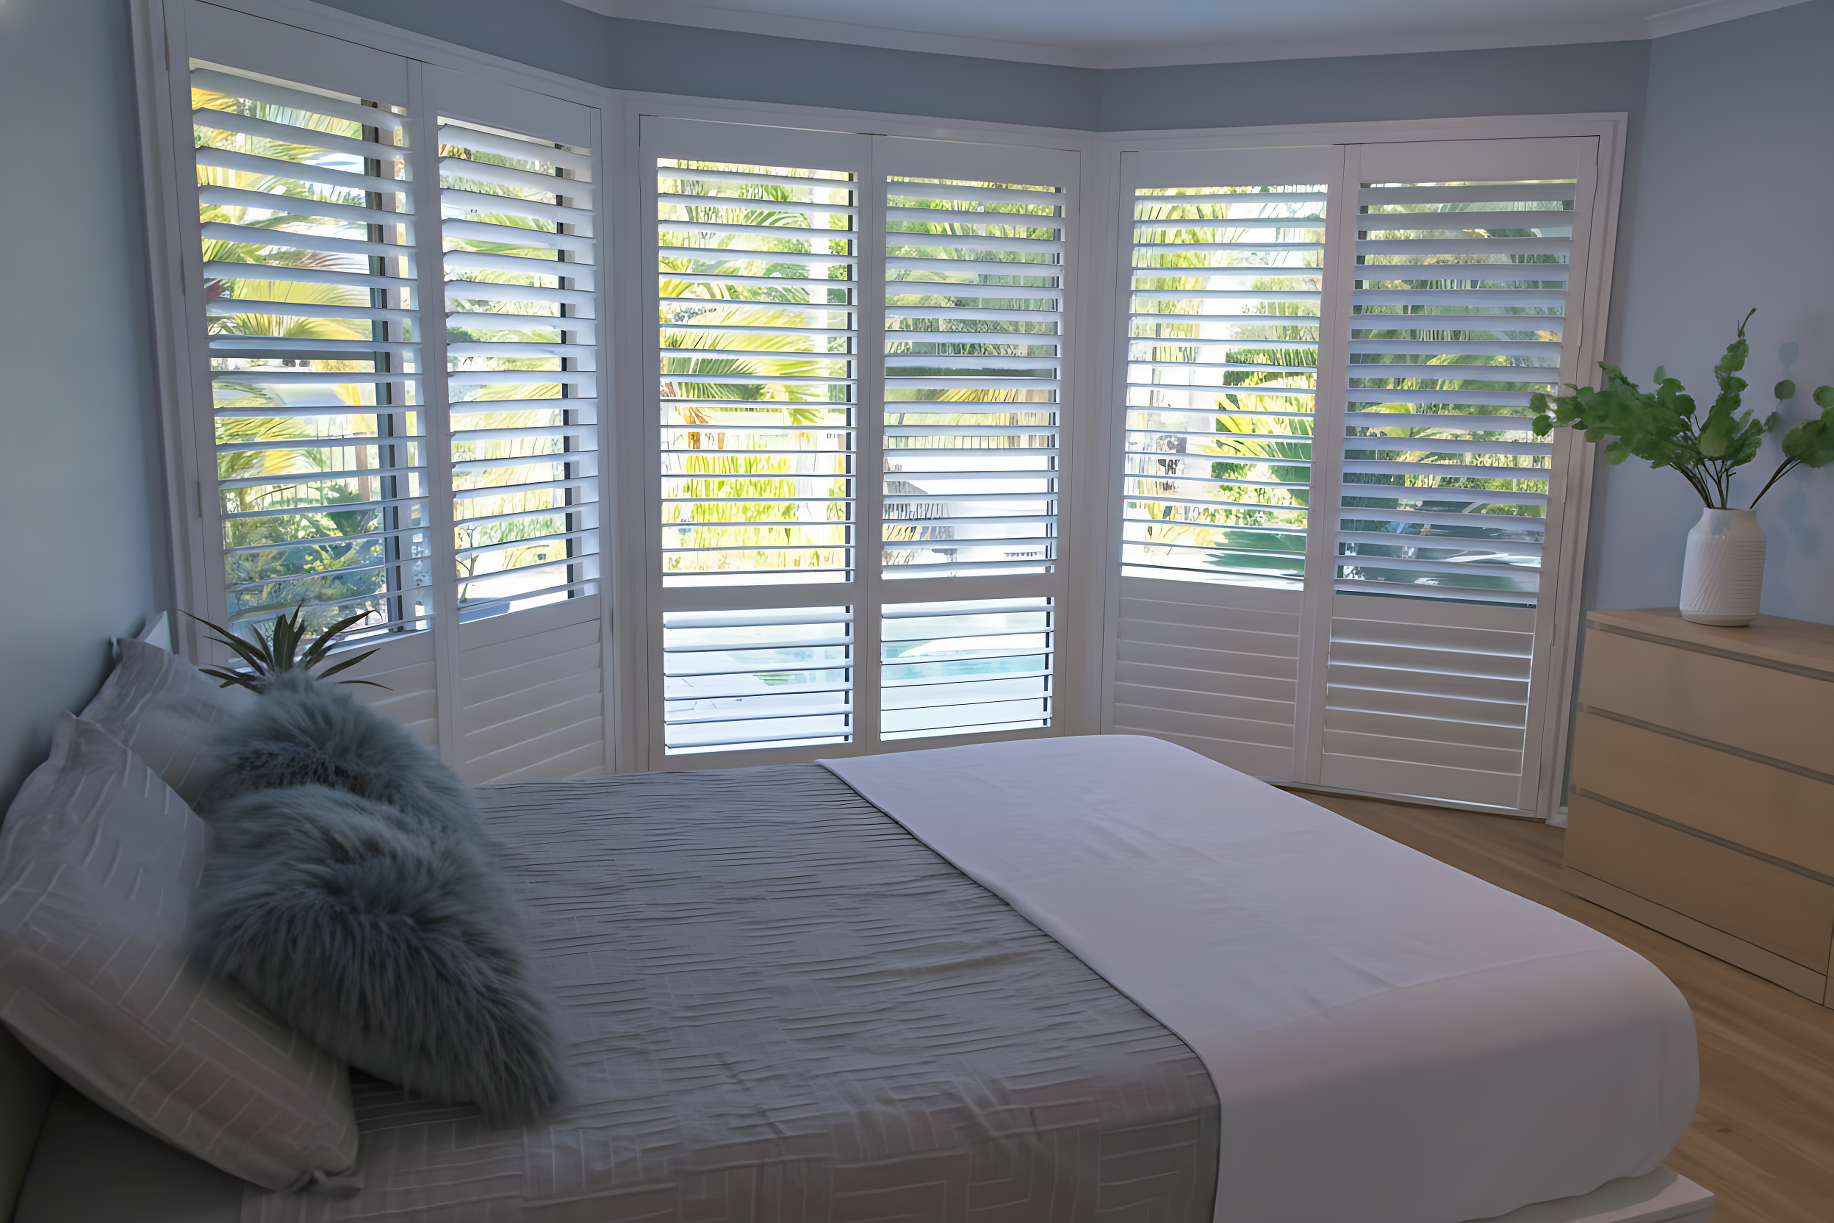
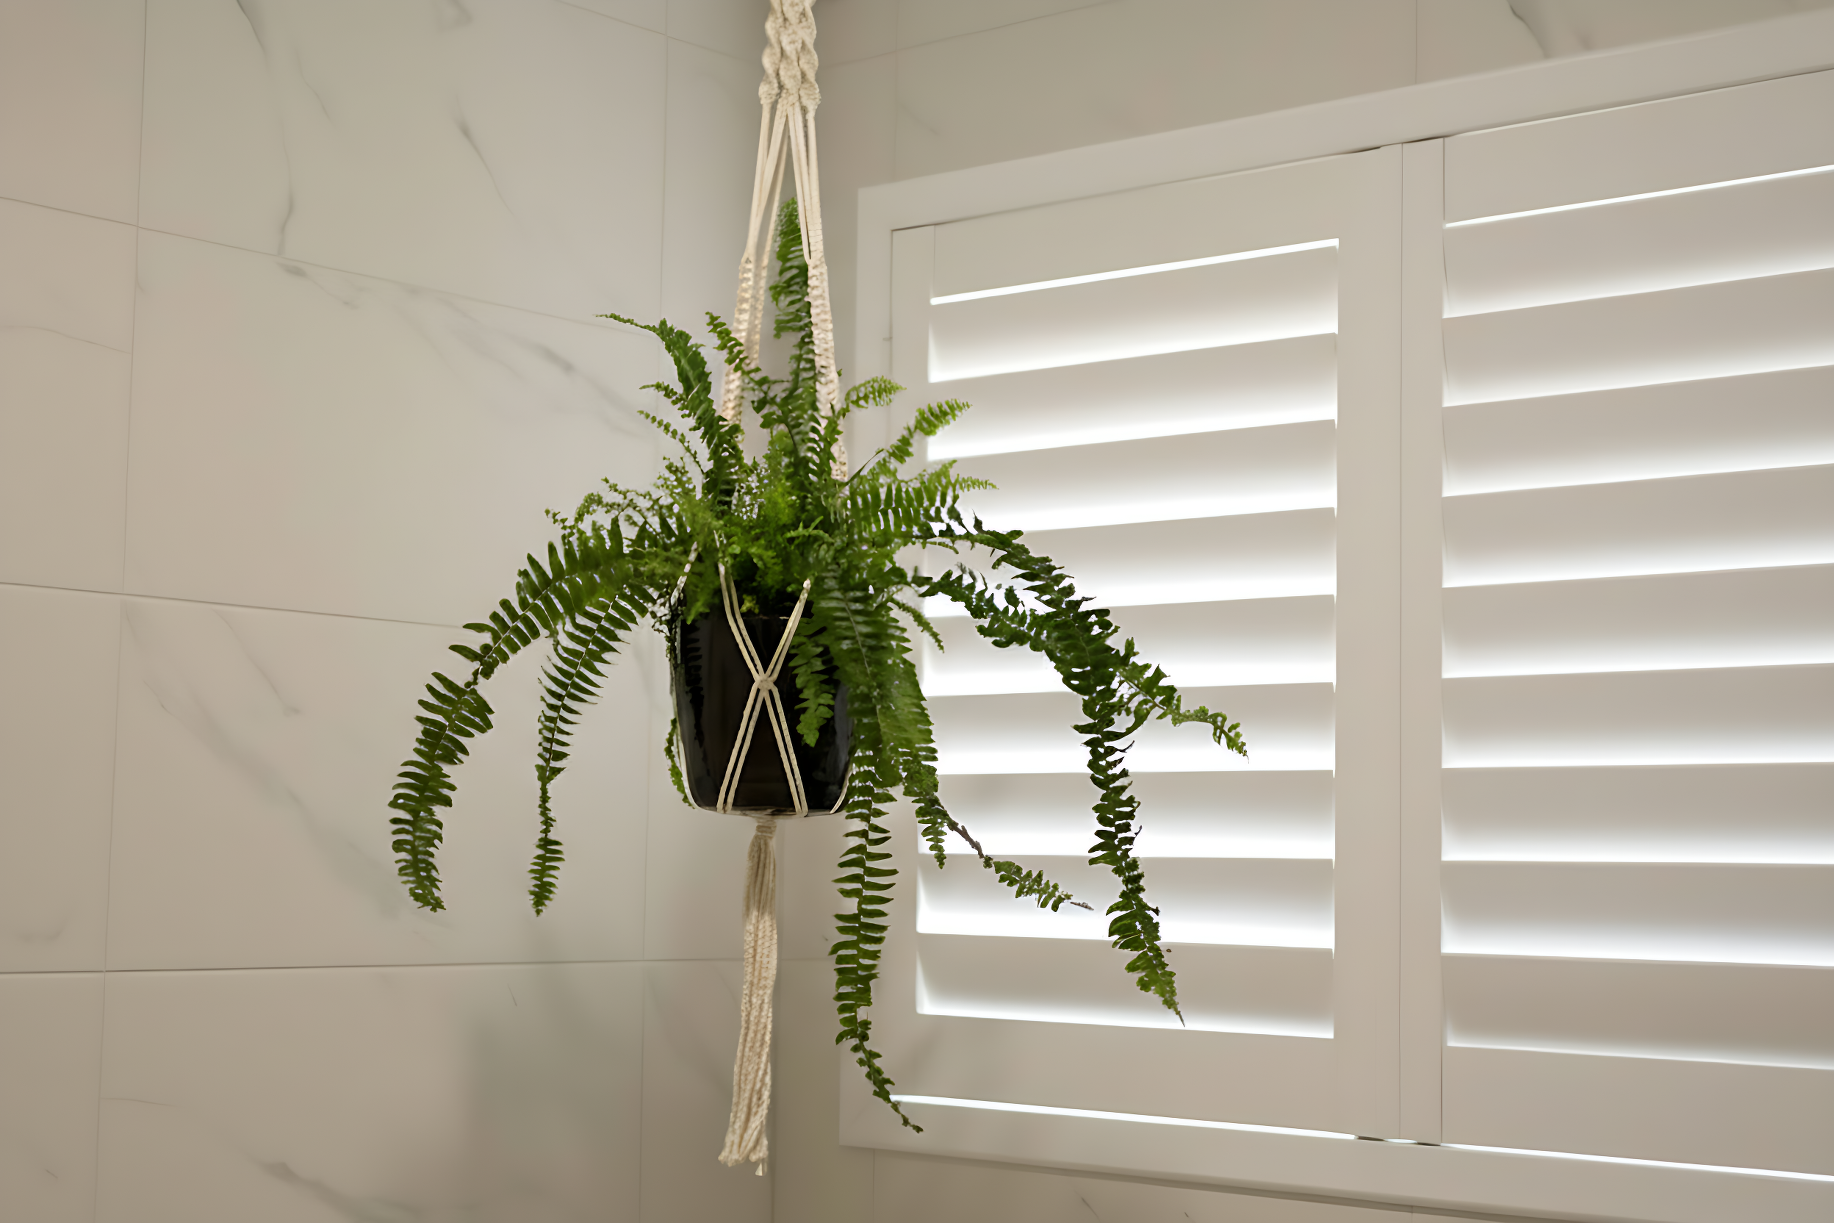
Plantation shutters are interior window coverings with wide louvers (slats) mounted within a solid frame. Unlike blinds or curtains, they’re considered a semi-permanent fixture, which is why proper installation matters.
Homeowners choose plantation shutters because they:
- Offer precise control over light and airflow
- Provide better insulation than many other window treatments
- Are durable and easy to clean
- Complement both traditional and modern interiors
- Add perceived value to a home
Understanding how to install plantation shutters correctly ensures they look custom-made rather than like an afterthought.
Can You Install Plantation Shutters Yourself?
Yes, in many cases you can. Most plantation shutters are designed with DIY installation in mind, especially pre-made or custom-ordered kits. However, the difficulty level depends on factors like:
- Window shape and size
- Whether the window is square and level
- Inside mount versus outside mount installation
- Wall material (drywall, wood, brick, concrete)
If your windows are standard-sized and fairly square, DIY installation is very realistic.
What Tools and Materials Do You Need?
Before you begin, gather everything you’ll need so you’re not scrambling halfway through the job.
Basic Tools
- Tape measure
- Level (at least 24 inches long)
- Power drill with drill bits
- Screwdriver or driver bits
- Pencil
- Step ladder (for tall windows)
Materials
- Plantation shutter kit (frame, panels, hinges, screws)
- Shims (usually included or purchased separately)
- Wall anchors (if mounting into drywall or masonry)
Having the right tools on hand makes the entire process smoother and helps prevent mistakes.
Inside Mount or Outside Mount: Which Should You Choose?
Before measuring or installing, you need to decide how the shutters will be mounted.
What Is an Inside Mount?
An inside mount places the shutter frame inside the window opening. This creates a clean, built-in look.
Inside mount works best when:
- The window opening is deep enough
- The window frame is square
- You want a minimal, streamlined appearance
What Is an Outside Mount?
An outside mount places the shutter frame on the wall or trim around the window.
Outside mount is ideal when:
- The window opening is shallow
- The window is not square
- You want to cover unattractive trim or block more light
Your choice affects how you measure and install the shutters.
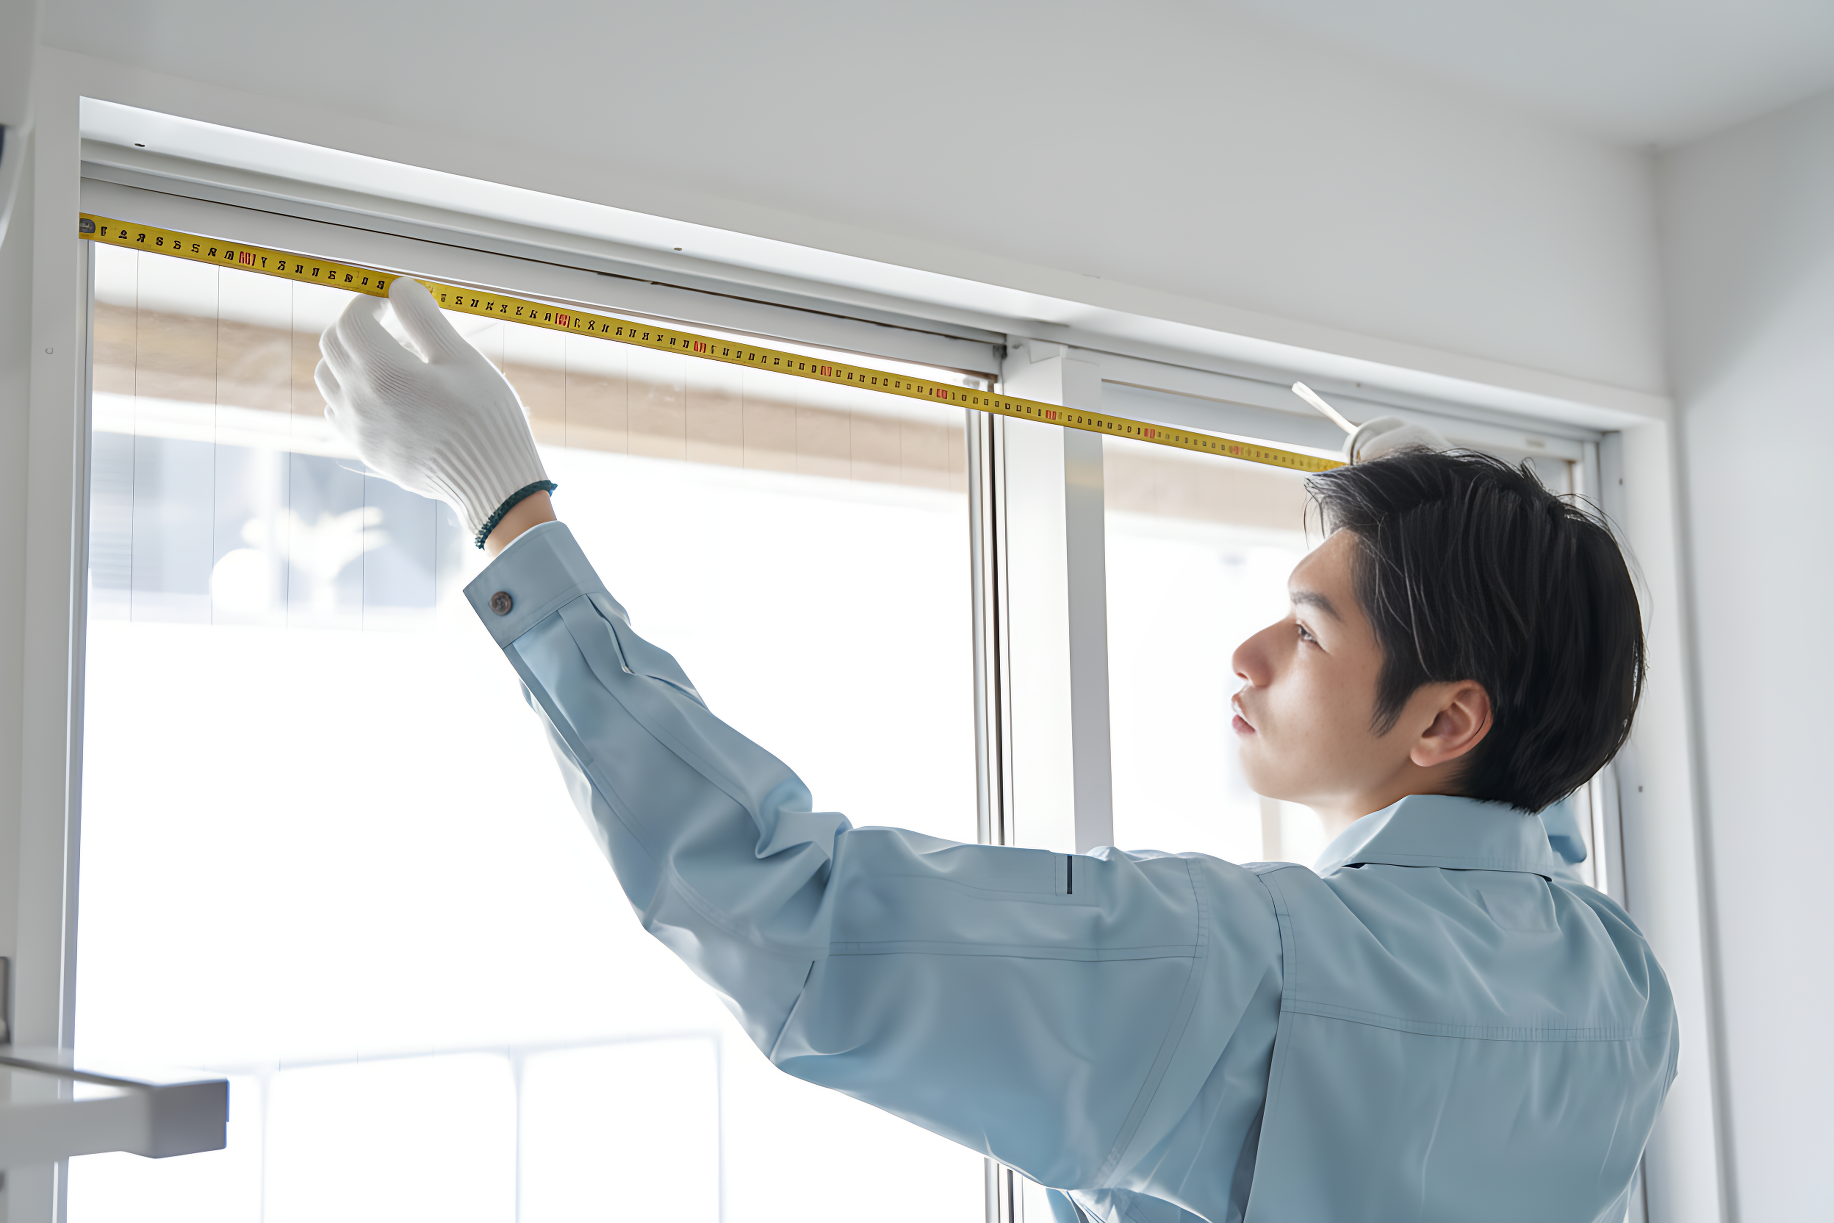
How to Measure for Plantation Shutters Correctly
Measuring is the most critical step in learning how to install plantation shutters. Even small errors can lead to gaps, poor alignment, or shutters that won’t open and close properly. Taking your time here will save you frustration later and help ensure a clean, custom-looking result.
Always use a steel tape measure for accuracy, and write your measurements down immediately to avoid confusion.
How Do You Measure for Inside Mount Shutters?
Inside mount shutters fit within the window opening, so precision matters.
Measure the window opening in three places to account for variations:
- Width: measure across the top, middle, and bottom of the opening
- Height: measure down the left side, center, and right side
Windows are rarely perfectly square, so always use the smallest width and the smallest height when ordering or cutting shutters. This prevents the frame from being too large to fit inside the opening.
Next, measure the depth of the window opening:
- Measure from the front of the opening to the glass or window obstruction
- Confirm the depth meets the manufacturer’s minimum requirement
Depth is especially important for shutters with wide louvers, as they need space to tilt open without hitting the glass.
How Do You Measure for Outside Mount Shutters?
Outside mount shutters attach to the wall or trim around the window rather than fitting inside it. This option allows more flexibility and is often easier for uneven or shallow windows.
Measure the area you want the shutters to cover:
- Width: measure the window width and add extra space on both sides for light control and visual balance
- Height: measure the window height and extend above and below the window as desired
Outside mount measurements don’t need to be as precise as inside mounts, but symmetry is important. Make sure your added width and height are consistent so the shutters look centered and intentional once installed.
How to Prepare the Window Area Before Installation
Proper preparation helps prevent alignment problems and makes installation smoother and more accurate.
Before mounting anything, take time to inspect and prep the area:
- Remove existing blinds, curtains, brackets, and hardware
- Clean the window frame and surrounding wall or trim
- Check for cracks, loose trim, or damaged drywall
- Fill old screw holes or repair damage so the frame sits flush
Use a level to check whether the window opening is square and plumb. If it’s slightly off, don’t worry—shims can be used during installation to correct minor imperfections.
How to Assemble the Plantation Shutter Frame
Most plantation shutters arrive partially assembled, but the frame usually needs to be put together before mounting.
Lay all frame pieces on a flat, clean surface and confirm you have the correct parts for your window.
Typical Frame Assembly Steps
- Lay out the frame pieces in their correct orientation
- Connect the corners using the provided connectors, brackets, or screws
- Measure diagonally from corner to corner to ensure the frame is square
- Adjust as needed before fully tightening the screws
- Tighten screws securely, but avoid over-tightening, which can twist the frame
A square, stable frame is essential for proper panel alignment and smooth operation.
How to Dry Fit the Frame Before Mounting
Dry fitting means placing the assembled frame into position without permanently securing it. This step helps catch issues early.
Dry fitting allows you to:
- Confirm the frame fits properly
- Identify uneven gaps or tight spots
- Determine where shims will be needed
Place the frame into the window opening (inside mount) or against the wall or trim (outside mount). Use a level to check vertical and horizontal alignment, and make small adjustments until the frame sits straight and flush.
How to Mount the Plantation Shutter Frame
Once the frame is properly positioned and leveled, it’s time to secure it.
How Do You Secure an Inside Mount Frame?
Inside mount frames attach directly inside the window opening.
- Insert shims behind the frame at hinge locations and corners to keep it level
- Drill pilot holes through the frame and into the window opening
- Secure screws through the frame into wood or appropriate anchors
- Tighten screws gradually and evenly
Avoid over-tightening, as this can bow the frame and cause the panels to bind.
How Do You Secure an Outside Mount Frame?
Outside mount frames attach to the wall or trim surrounding the window.
- Position the frame where it will be mounted
- Use a level to ensure it’s straight and centered
- Drill pilot holes into wall studs or use appropriate wall anchors
- Secure screws at the manufacturer’s recommended points
Check level again after tightening each screw to ensure the frame hasn’t shifted.
How to Hang the Plantation Shutter Panels
With the frame securely mounted, the next step is installing the shutter panels.
Hanging the Panels
- Attach hinges to the panels if they’re not already installed
- Align the hinges with the pre-drilled holes in the frame
- Secure the hinges to the frame using screws
- Open and close each panel slowly to test movement
Panels should swing freely without scraping the frame or dragging along the bottom.
How to Adjust Plantation Shutters After Installation
Minor adjustments are normal and often necessary to get everything just right.
You may need to:
- Tighten or loosen hinge screws
- Adjust panel spacing for even gaps
- Add or remove shims to correct alignment
Open and close the panels several times and test louver movement to ensure everything operates smoothly.
How to Install the Louver Control Rod
The louver control rod connects all the slats so they tilt together.
Installation typically involves:
- Snapping or screwing the rod into pre-drilled holes on each louver
- Testing the rod to ensure all louvers move evenly
- Adjusting tension or alignment if movement feels stiff or uneven
Some modern shutters use hidden tilt mechanisms, which eliminate the visible rod entirely.
How to Finish the Installation Cleanly
The final details give your shutters a polished, professional appearance.
Finishing Steps
- Insert screw covers or caps to hide fasteners
- Fill visible screw holes if recommended by the manufacturer
- Wipe down the shutters to remove dust and fingerprints
- Clean the surrounding window area
Take a final look at spacing, alignment, and movement before considering the installation complete.
Common Mistakes to Avoid When Installing Plantation Shutters
Even small mistakes can impact performance and appearance.
Avoid these common issues:
- Measuring only once instead of multiple times
- Ignoring out-of-square windows
- Over-tightening screws
- Skipping the dry fit step
- Mounting without a level
Being patient and precise goes a long way.
How Long Does It Take to Install Plantation Shutters?
Installation time varies based on experience and window complexity.
- Single standard window: 1–2 hours
- Multiple windows: half-day to full day
- Complex or oversized windows: longer
Planning ahead helps you avoid rushing through critical steps.
When Should You Hire a Professional Instead?
DIY isn’t always the best choice.
Consider hiring a pro if:
- Windows are very large or unusually shaped
- Walls are masonry or concrete
- You want guaranteed fit and finish
- Manufacturer warranty requires professional installation
Knowing how to install plantation shutters helps you decide whether DIY or professional installation makes the most sense.
How to Maintain Plantation Shutters After Installation
Proper maintenance keeps shutters looking and functioning like new.
Basic Maintenance Tips
- Dust regularly with a microfiber cloth
- Clean with a damp cloth as needed
- Avoid harsh chemicals
- Check hinge screws periodically
Well-installed shutters require minimal upkeep.
Final Thoughts
Learning how to install plantation shutters may seem intimidating at first, but breaking the process into clear steps makes it manageable. From accurate measuring and careful frame mounting to final adjustments, each stage plays an important role in achieving a polished result.
If you take your time, use the right tools, and follow a structured approach, you can install plantation shutters that look custom, operate smoothly, and enhance your home for years to come.