
- Accurate measuring is the foundation of a successful outside mount installation. Measure width and height carefully, using the largest measurements and double-checking to avoid gaps or misalignment.
- Outside mount is best when window frames are shallow, uneven, or you want more coverage. This mount style sits on the wall or trim and can make windows look larger while covering imperfections.
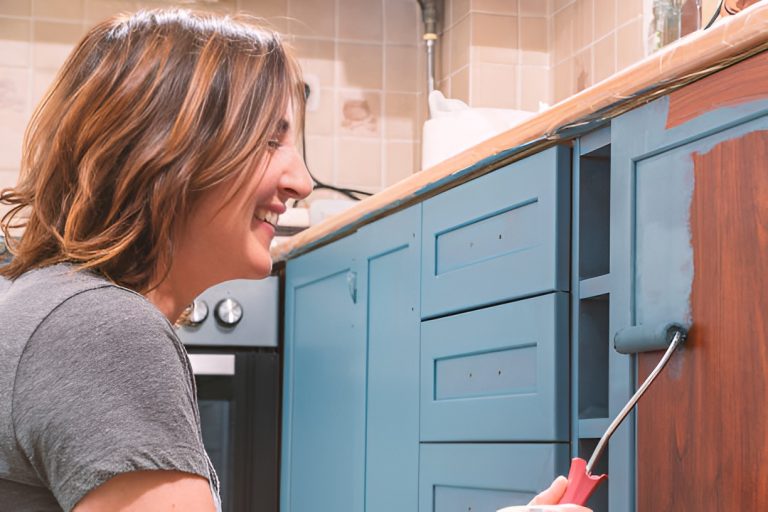
- DIY installation is realistic for most standard windows. With basic tools, careful planning, and patience, homeowners can install outside mount shutters themselves.
- Frame alignment and leveling determine how smoothly the shutters operate. Dry fitting, using a level, and adding shims where needed prevents binding panels and uneven spacing.
- Over-tightening screws is a common mistake that can warp the frame. Tighten screws gradually and evenly to protect the frame and ensure smooth panel movement.
- Final adjustments are normal and expected. Minor hinge tweaks, spacing corrections, and louver adjustments help achieve a clean, professional finish.
- Proper installation improves long-term function and value. When installed correctly, outside mount plantation shutters enhance privacy, light control, insulation, and overall home appeal.
Installing plantation shutters is one of the best ways to instantly upgrade your home’s style, privacy, and light control. And outside mount plantation shutters are especially popular because they’re easier to install and work well even if your window frames are uneven or too shallow for an inside mount. If you’re looking to improve your home’s look without a major renovation, learning how to install plantation shutters is a smart move.
In this guide, we’ll walk through everything you need to know to install outside mount plantation shutters like a pro—step by step, with clear instructions, practical tips, and a few common mistakes to avoid.
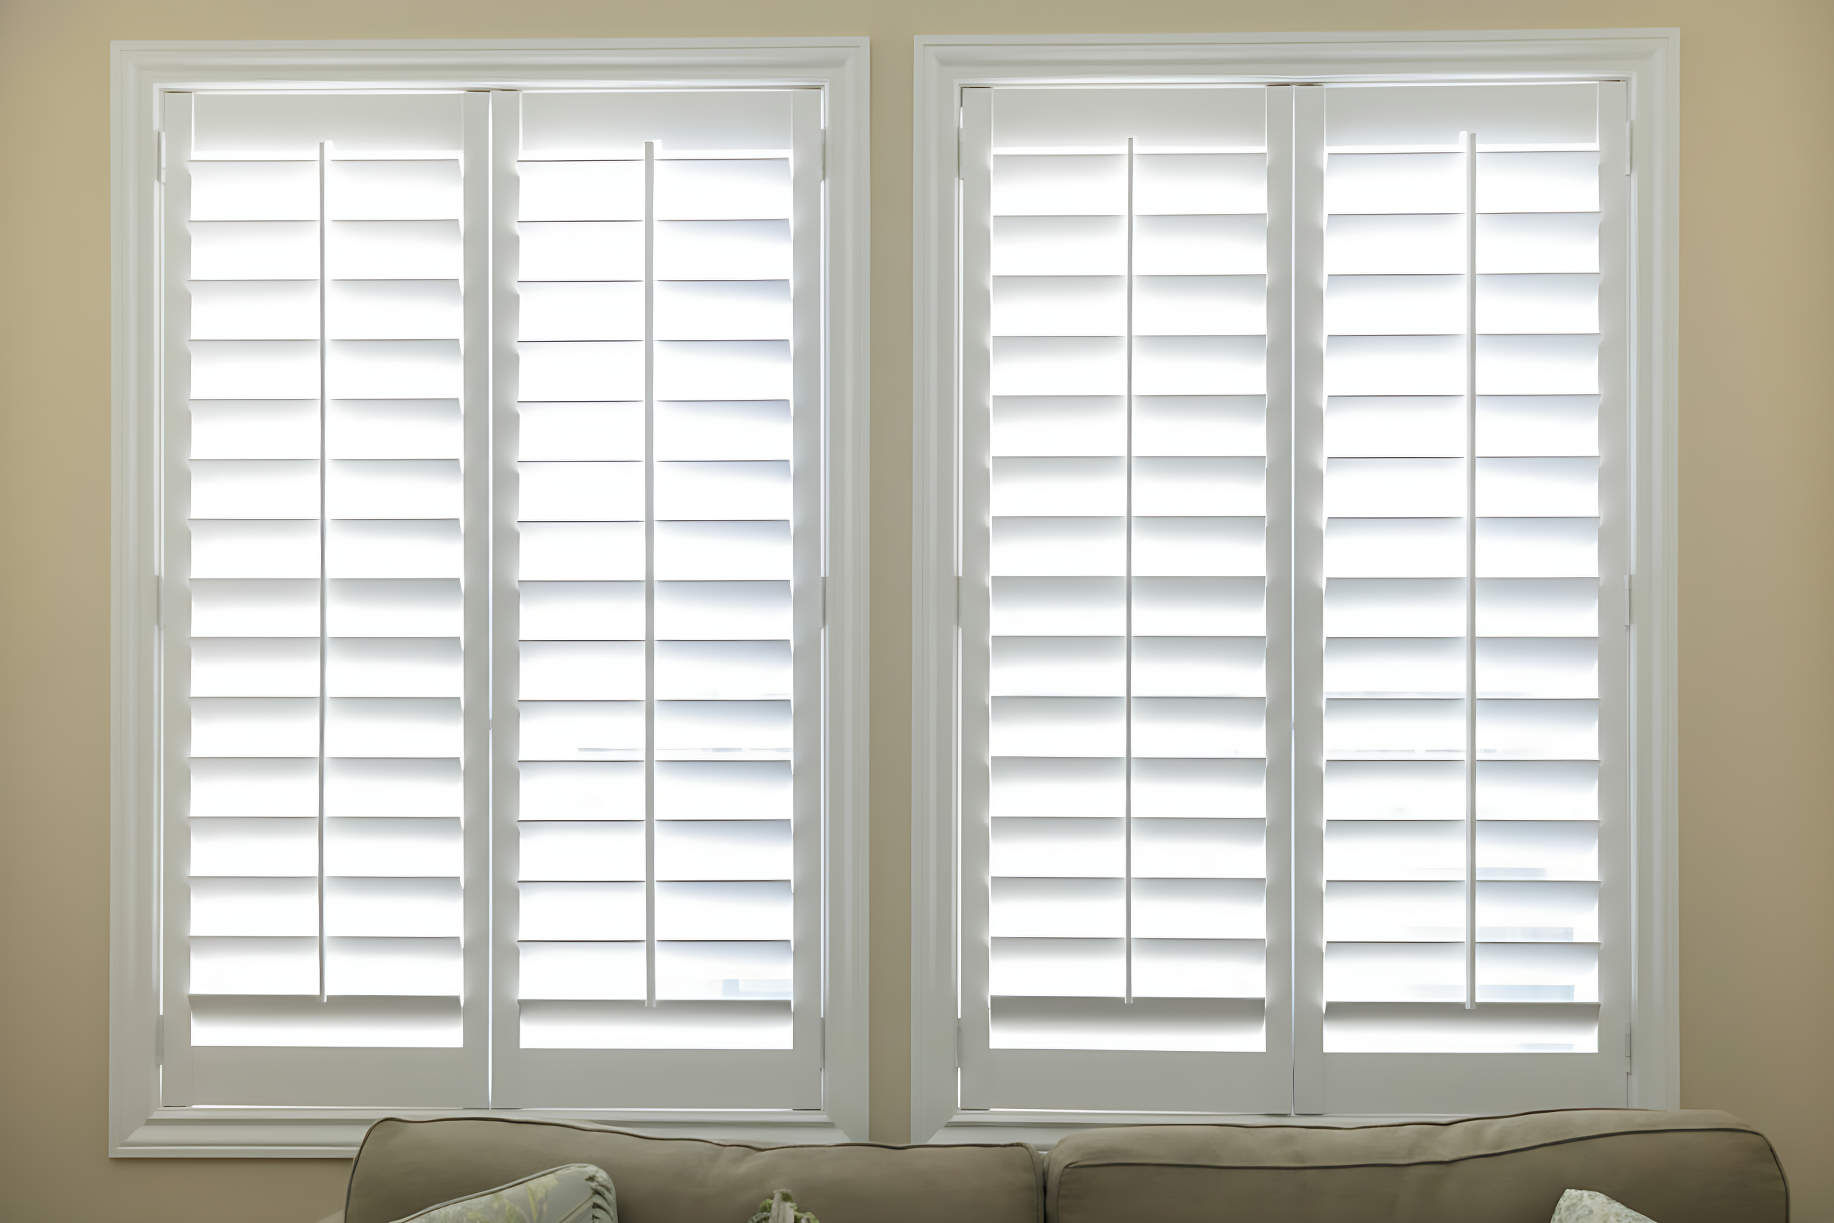
What Are Outside Mount Plantation Shutters?
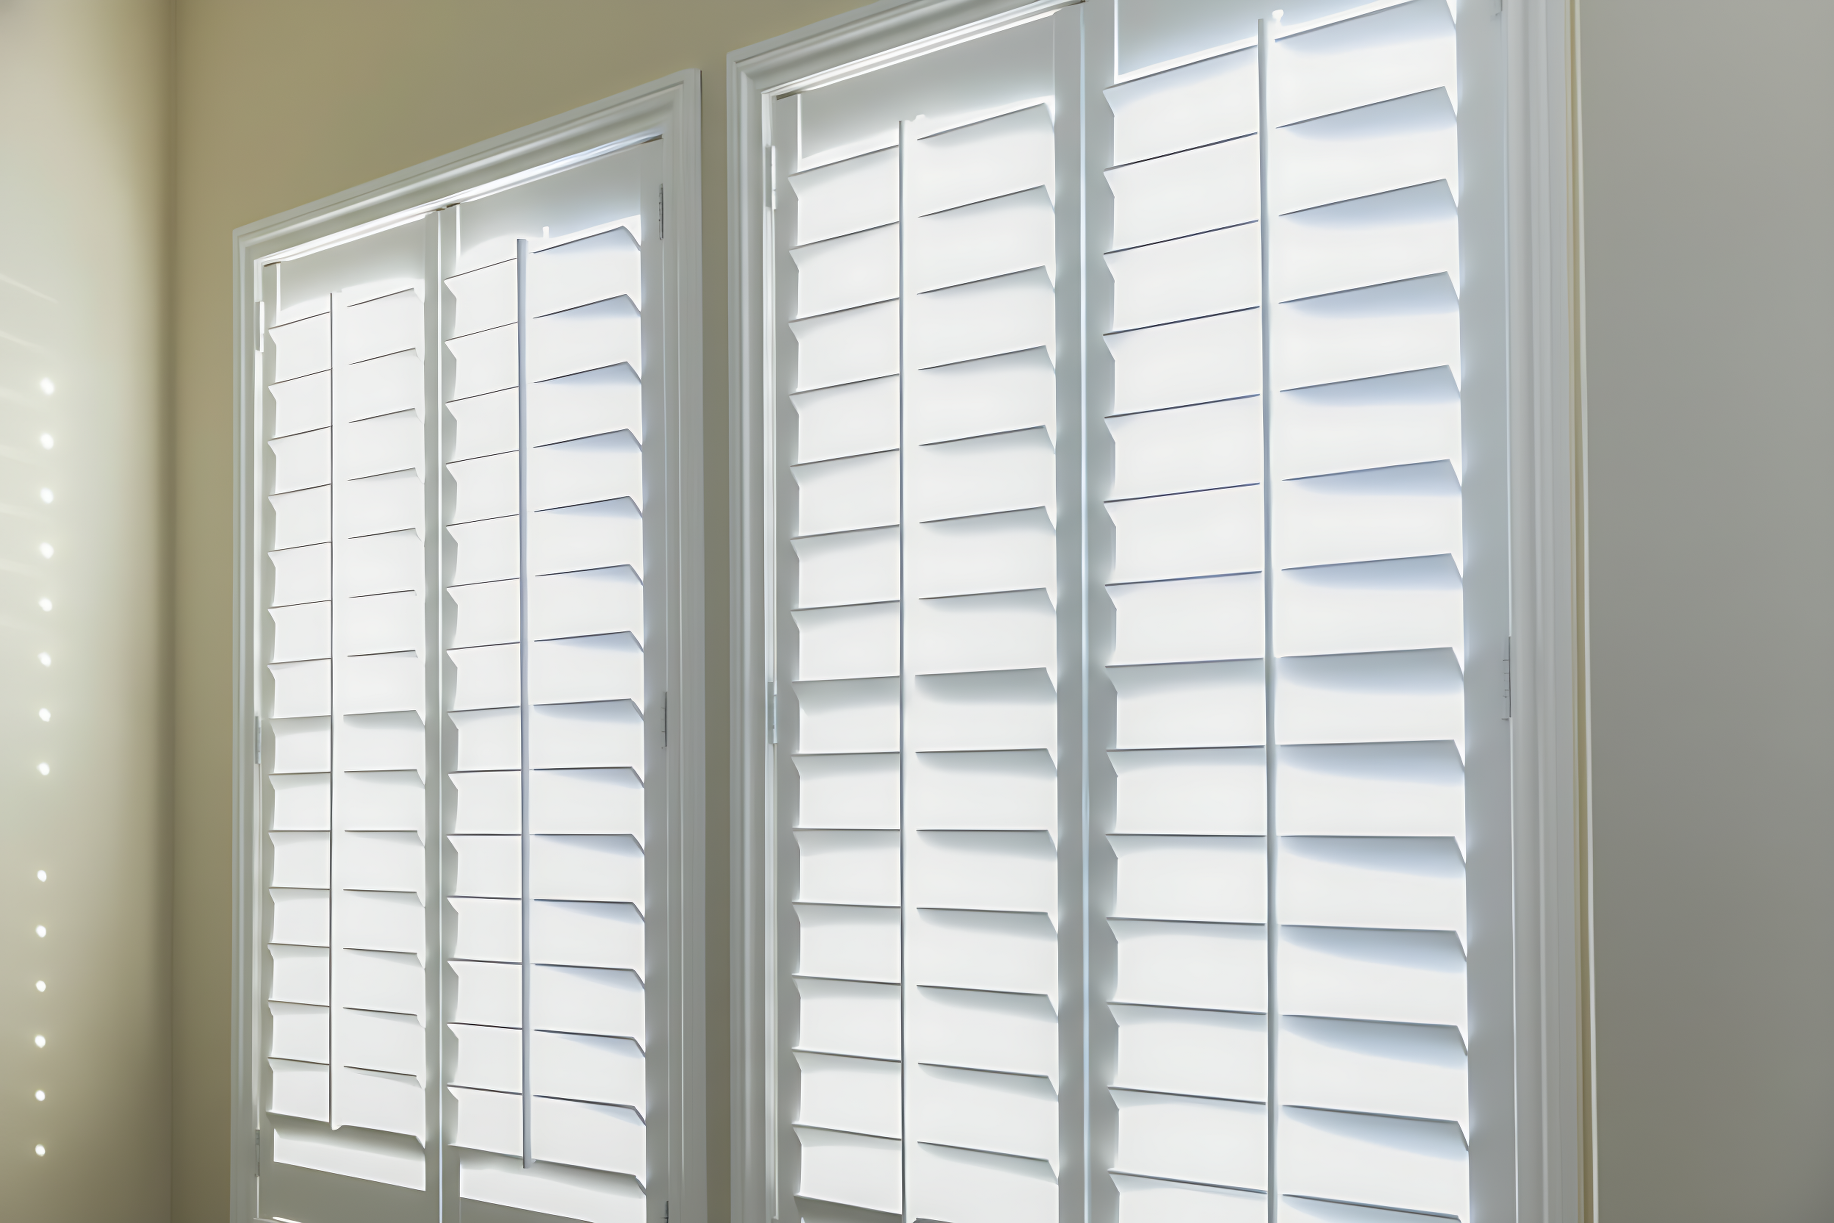
Outside mount plantation shutters are installed on the wall surrounding your window rather than inside the window frame. This means the shutters cover the window completely and extend slightly beyond the frame.
Because they sit outside the frame, outside mount shutters are ideal when:
- Your window frame is too shallow for inside mounts
- The window has trim or molding that you don’t want to alter
- You want the shutters to make the window look larger
- You’re dealing with uneven or damaged window frames
Outside mount shutters are also a popular choice for renters or homeowners who want a clean, finished look without needing major carpentry work.
What Tools Do You Need?
Before you begin, make sure you have everything you need. Here’s a quick list of tools that make the installation smoother:
Tools:
- Measuring tape
- Pencil
- Level
- Drill
- Screws (usually included with the shutters)
- Screwdriver
- Stud finder (optional)
- Shims (optional)
- Safety glasses
If you want the shutters to sit perfectly straight, a level and a good drill are the two most important tools.
How Do You Measure for Outside Mount Plantation Shutters?
Measuring correctly is the most important part of the installation. If your measurements are off, the shutters won’t fit properly and may look uneven.
Here’s how to measure for outside mount plantation shutters:
Step 1: Measure the Width
- Measure the width of the window at the top, middle, and bottom.
- Use the largest measurement as your final width.
- Add the extra width you want the shutters to cover (usually 1.5 to 2 inches on each side).
Step 2: Measure the Height
- Measure the height from the top of the window frame to the bottom.
- Take measurements at the left, middle, and right sides.
- Use the tallest measurement.
Step 3: Double-Check Your Measurements
- It’s always a good idea to remeasure before ordering.
- Make sure you write the measurements clearly and accurately.
How Do You Prepare the Window for Installation?
Once you have your shutters, the next step is to prepare the window area.
Here’s what to do before installation:
- Remove any old window treatments (blinds, curtains, etc.)
- Clean the window area so there’s no dust or debris
- Check for any damage to the wall or trim
- Make sure the area is dry and smooth
If the wall is uneven, you may need shims to level the shutter frame during installation.
How to Install Outside Mount Plantation Shutters: Step-by-Step
Now for the main event. Here’s the step-by-step installation process for outside mount plantation shutters:
Step 1: Mark the Mounting Points
- Hold the shutter frame against the wall, aligned with your measurement marks.
- Use a level to make sure the frame is straight.
- Mark the screw holes with a pencil.
Step 2: Drill Pilot Holes
- Drill pilot holes where you marked the screw locations.
- If you’re drilling into drywall, use anchors to ensure the screws hold securely.
- If you can, drill into studs for the strongest support.
Step 3: Attach the Frame
- Align the shutter frame with the pilot holes.
- Use screws to secure the frame to the wall.
- Tighten the screws gradually, checking with a level to make sure the frame stays straight.
Step 4: Install the Shutter Panels
- Place the shutter panels into the frame.
- Check that they open and close smoothly.
- If the panels feel too tight, adjust the hinges slightly until they operate correctly.
Step 5: Attach the Hinges
- Most outside mount shutters come with hinge placement instructions.
- Make sure the hinges are aligned evenly on both sides.
- Secure the hinges with screws, tightening gradually to avoid warping.
Step 6: Add the Final Touches
Once the shutters are mounted and the panels open smoothly, it’s time for the finishing touches:
- Check for any gaps around the edges
- Add shims if needed to make the frame flush
- Tighten all screws one last time
- Clean the shutters to remove fingerprints or dust
How Do You Know If the Shutters Are Installed Correctly?

Once installed, the shutters should:
- Open and close smoothly
- Sit flush against the wall
- Be level and symmetrical
- Not rub against the frame or window
If you notice any sticking or uneven gaps, it’s usually a sign that the frame needs adjusting.
What Are Common Installation Mistakes?
Even experienced DIYers can make mistakes. Here are the most common ones:
Common Mistakes to Avoid
- Measuring incorrectly
- Not using a level
- Not checking for studs
- Over-tightening screws
- Installing the frame crooked
- Ignoring gaps and not using shims
If you want your shutters to look clean and professional, taking your time and checking every step is worth it.
Can You Install Outside Mount Plantation Shutters on Any Window?
In most cases, yes. Outside mount shutters work on almost any window type, including:
- Standard rectangular windows
- Bay windows
- Sliding glass doors
- Arched windows (with custom frames)
- Patio doors
The key is ensuring you measure correctly and choose the right shutter size for your window type.
How Long Does Installation Take?
For most standard windows, installation takes about 30 to 60 minutes per window if you’re working carefully. If you have multiple windows, it can take several hours or even a full day.
If you’re installing on larger windows or doors, plan for extra time.
Is It Worth Installing Outside Mount Plantation Shutters Yourself?
The short answer: yes, if you’re comfortable with basic tools and measuring.
DIY installation saves money and gives you control over the process. But if your window frames are extremely uneven, or you’re working with custom shutters, hiring a professional might be worth the cost.
Wrapping It Up
Installing outside mount plantation shutters is a great way to upgrade your home’s look and functionality. They’re stylish, durable, and offer excellent privacy and light control. With the right tools, accurate measurements, and a bit of patience, you can install them yourself and enjoy a professional-looking result.
If you follow this step-by-step guide, you’ll be able to install outside mount plantation shutters with confidence and avoid the most common mistakes.